To quickly find the installation video made specific to your needs, select the make, model, and year from the dropdown menus and click search

The generic installation video for Trucks can be found lower on this page.

If you cannot find what you are looking for please contact us and we will get back to you. Click here to contact us

Follow this video for step by step instructions, use “drill template reference” button below for template placement.

Note: Torque spec. for sprayer nut is 2-4 in.lb

Click the link below for customer videos and vehicle specific installation videos. (Not all vehicles available)

Truck Installation slideshow Details below!

  • Congratulations on your purchase of ClearVU. With this Step by step install process it should be as simple and clear as your camera when you are done! Please follow the slides to install on any truck. Reference photos are located below.

  • Please have all contents of your ClearVU kit ready for install. Additional tools that will be needed: (Powerdrill & 5/16th drillbit, snips or any means of cutting, electrical fish tape, extra zipties if necessary). We recommend, a smaller drill bit (1/8th for template) for a pilot hole.

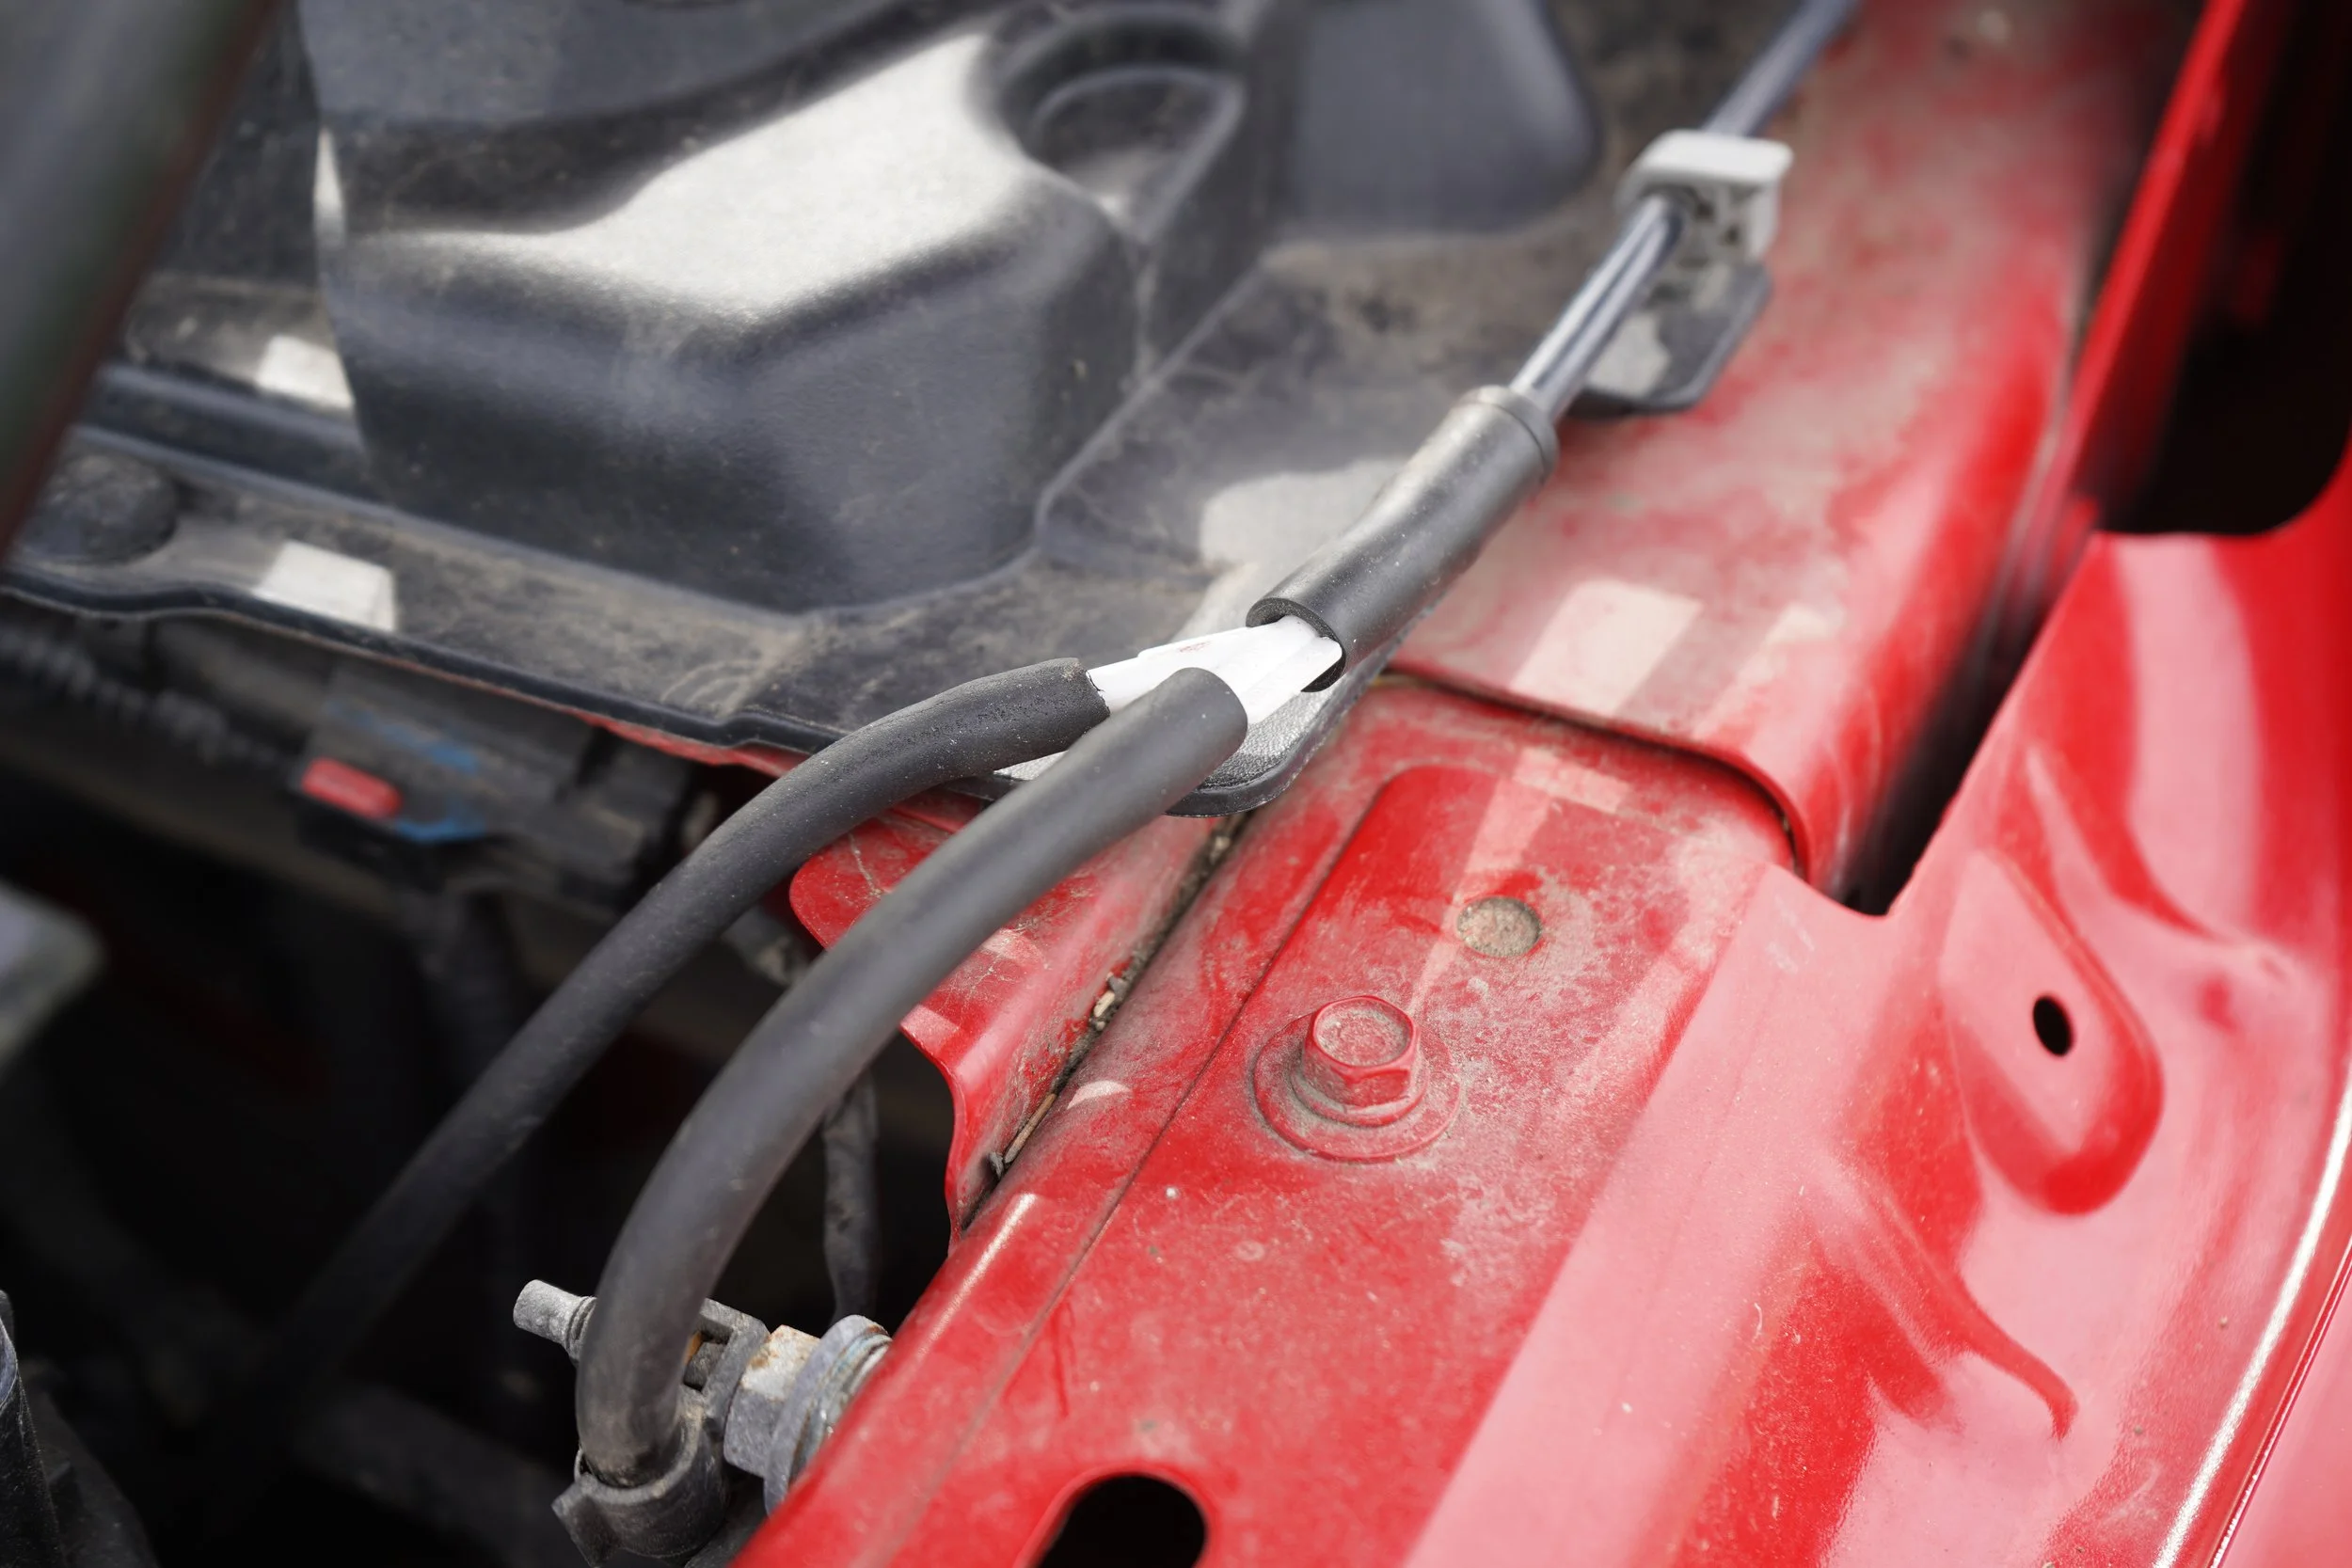
  • Now that you have all your materials needed. Open your hood on your vehicle, you will need to locate your factory windshield wiper line going to the front sprayers. Now that you have located the line it is time to insert the T-fitting provided in line with the hose (see picture 1A for reference.)

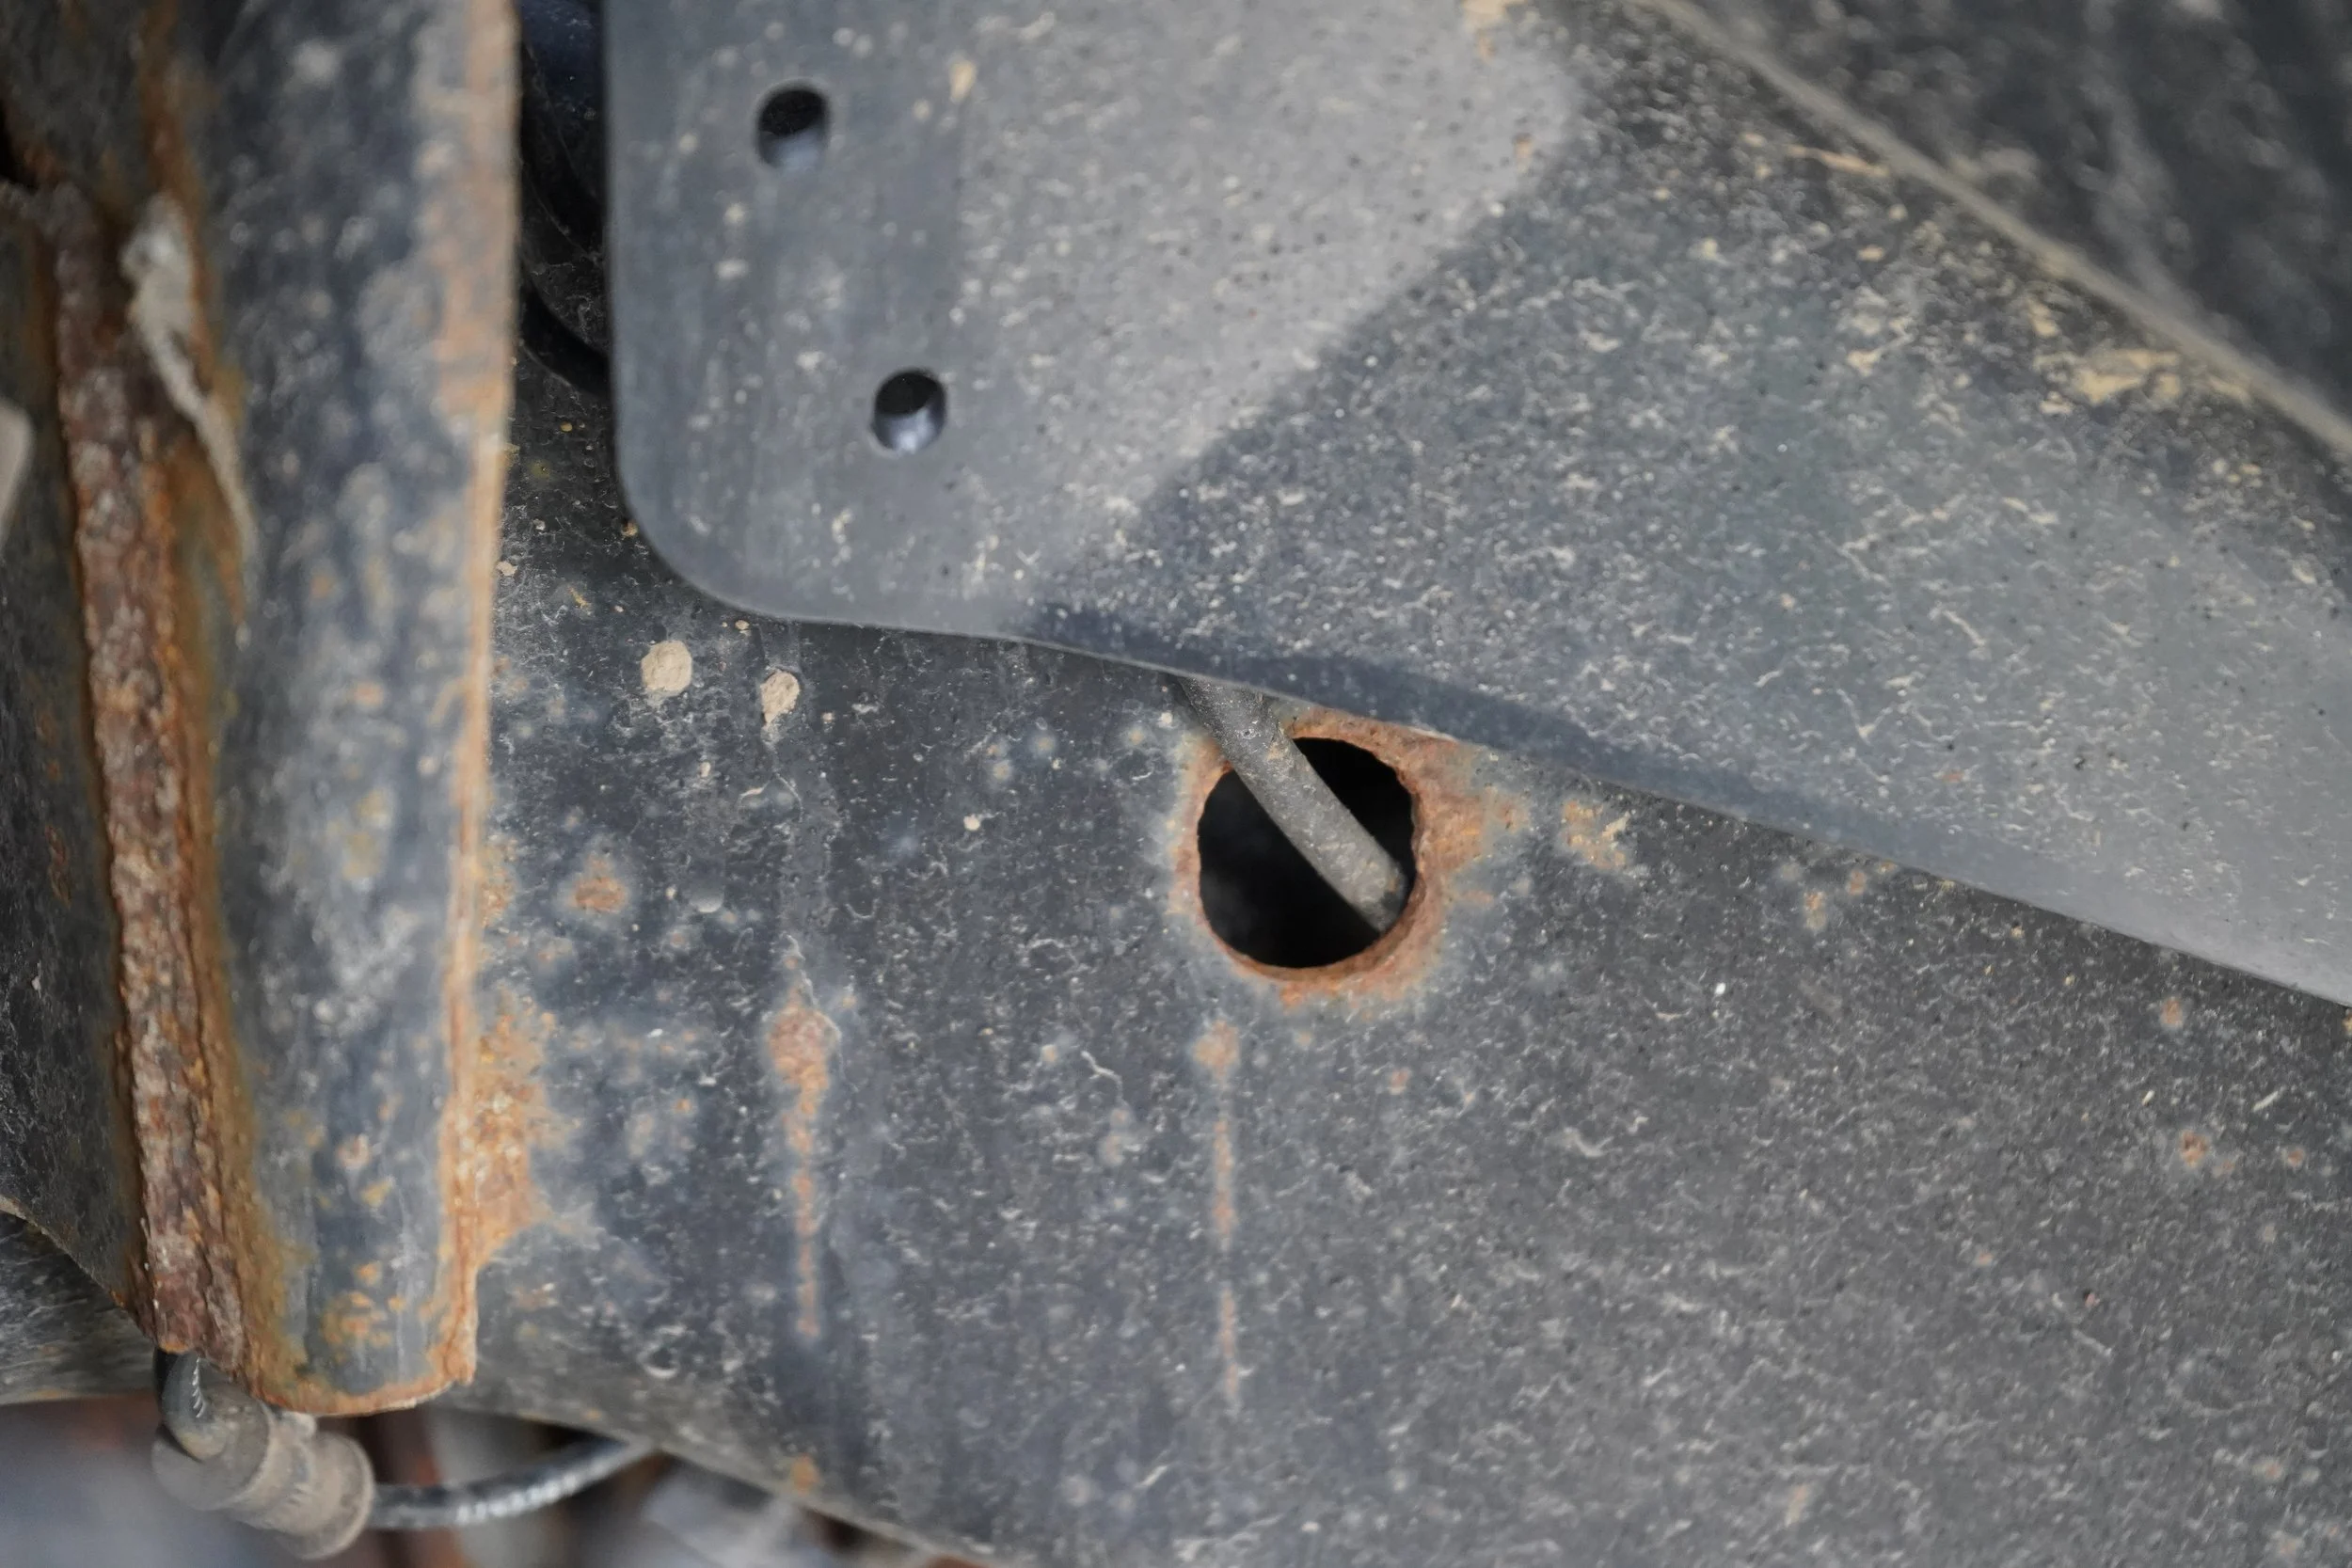
  • Great! Now that you have inserted the T-fitting, it is time to run the hose provided. There are a couple different options you can run this, It is recommended to run down the inside of the wheel well and go inside the frame-rail. Install hose same side as wiper reservoir (see picture 2A for reference)

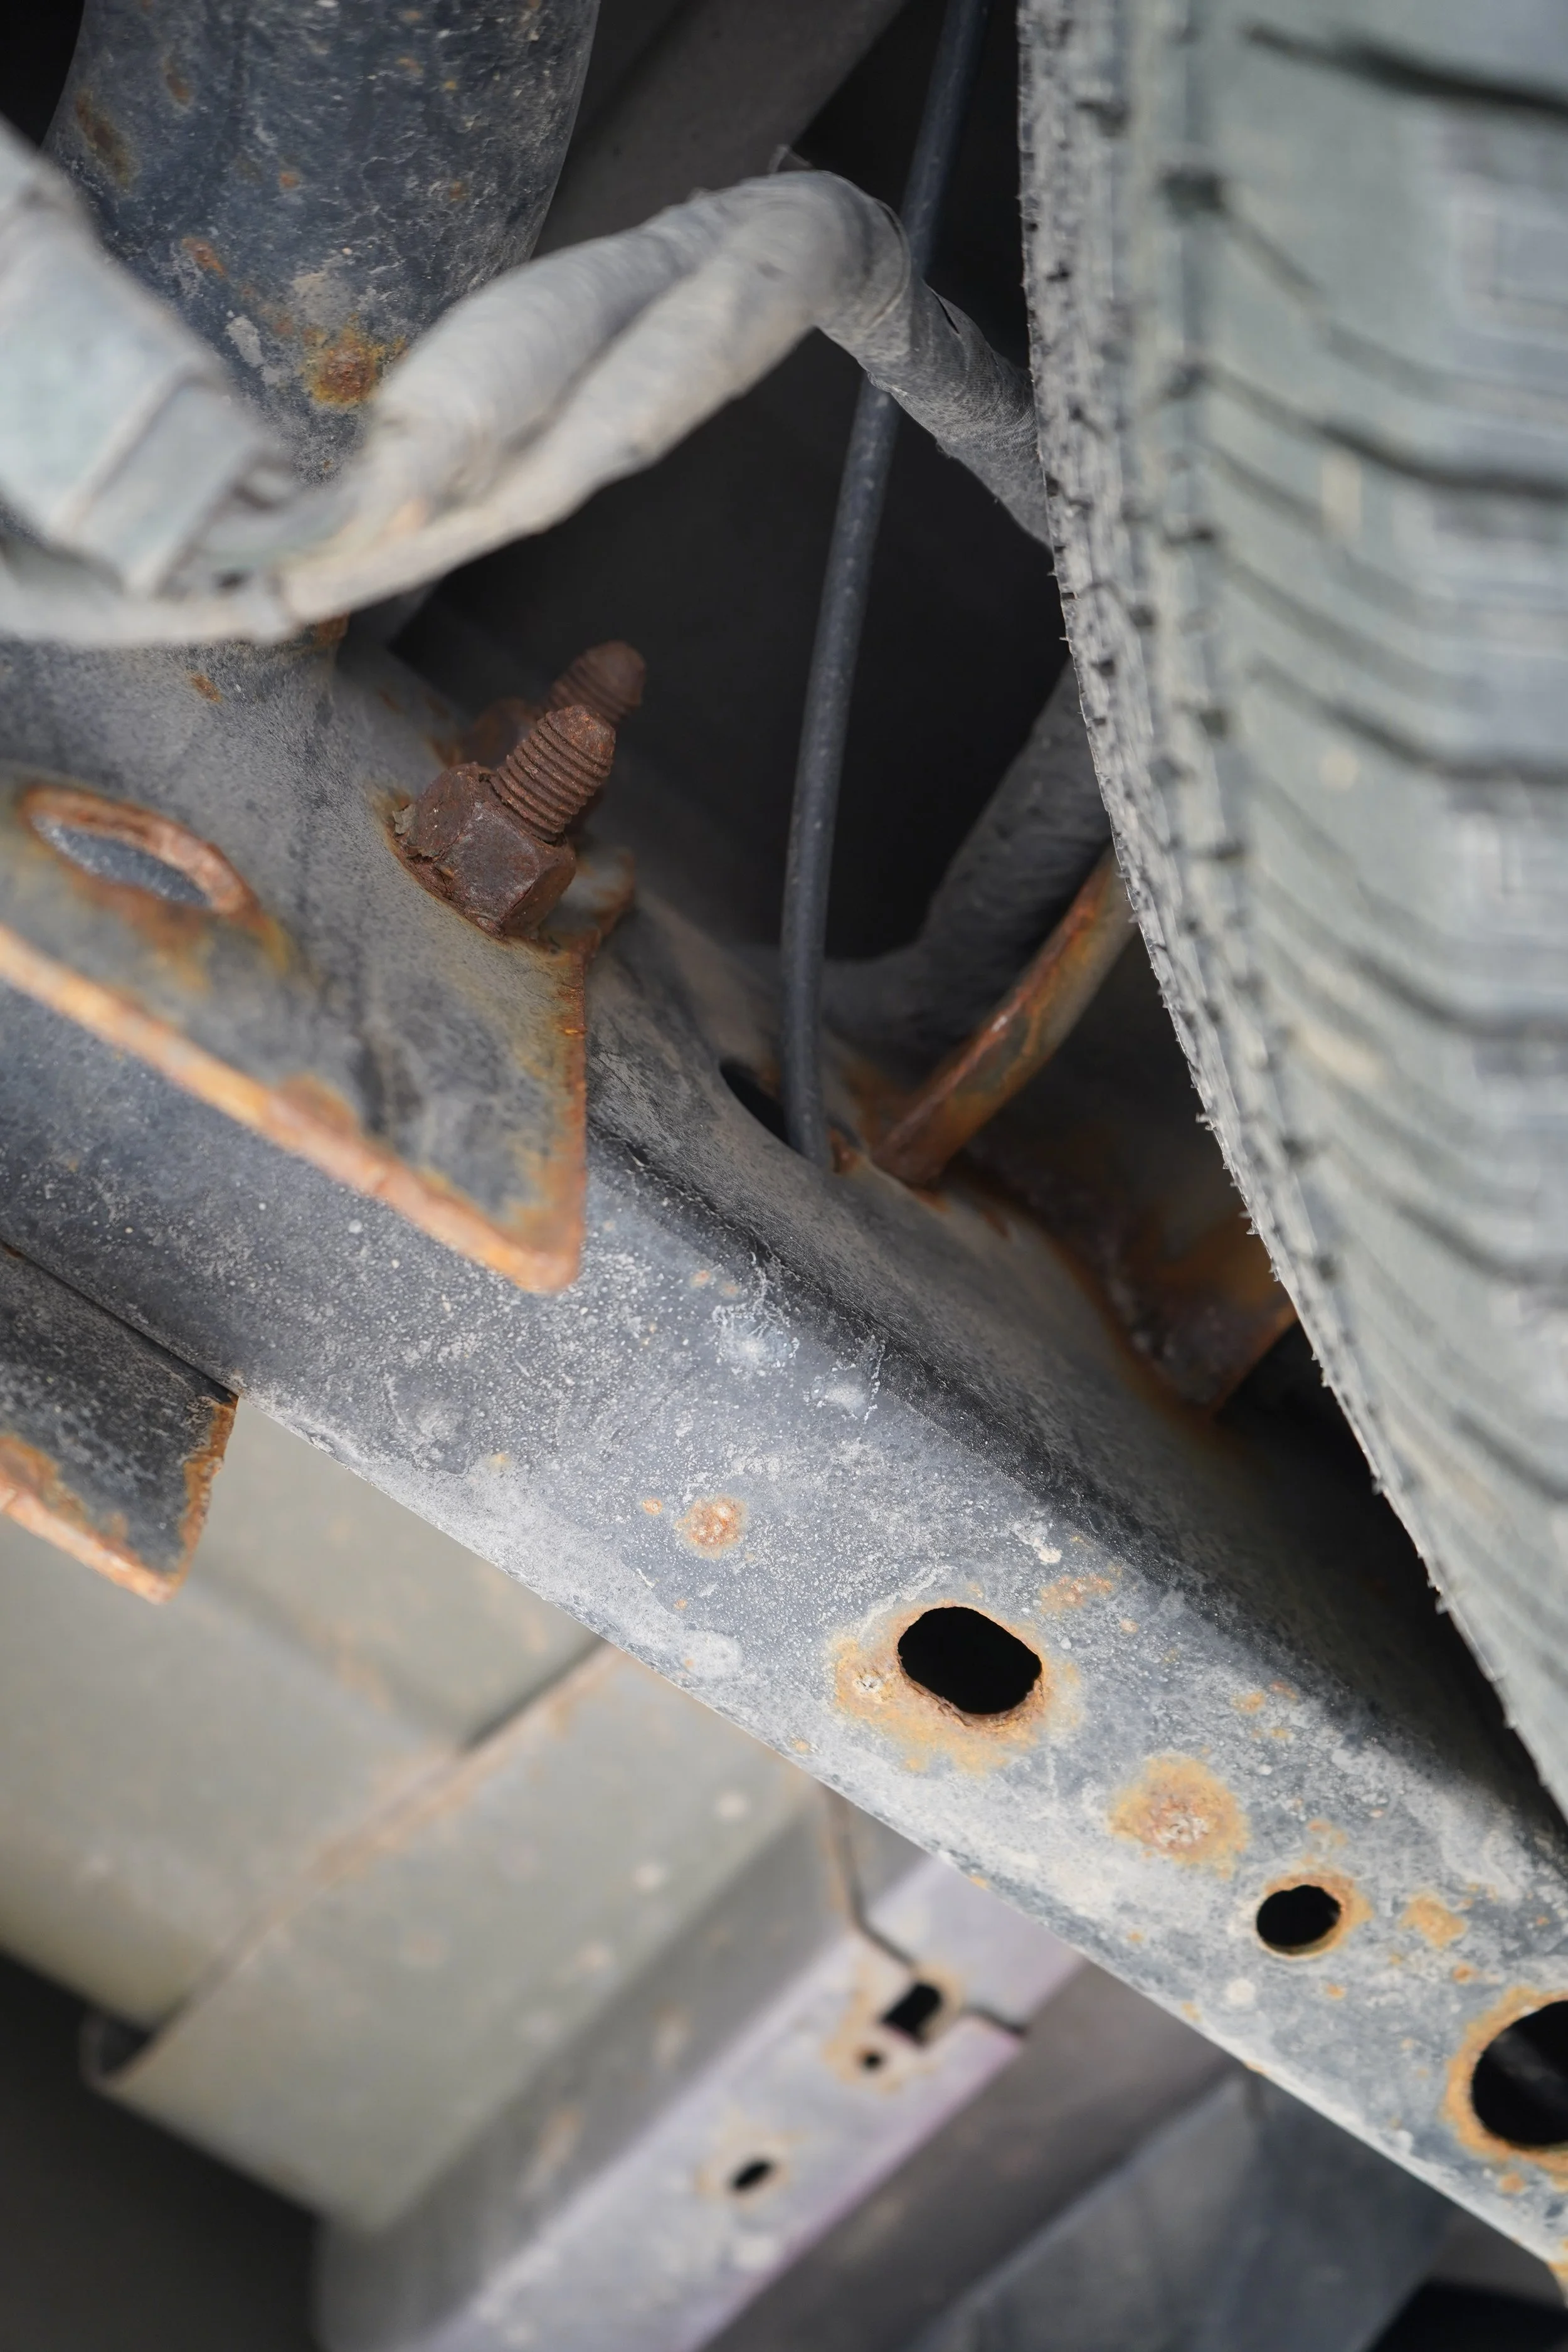
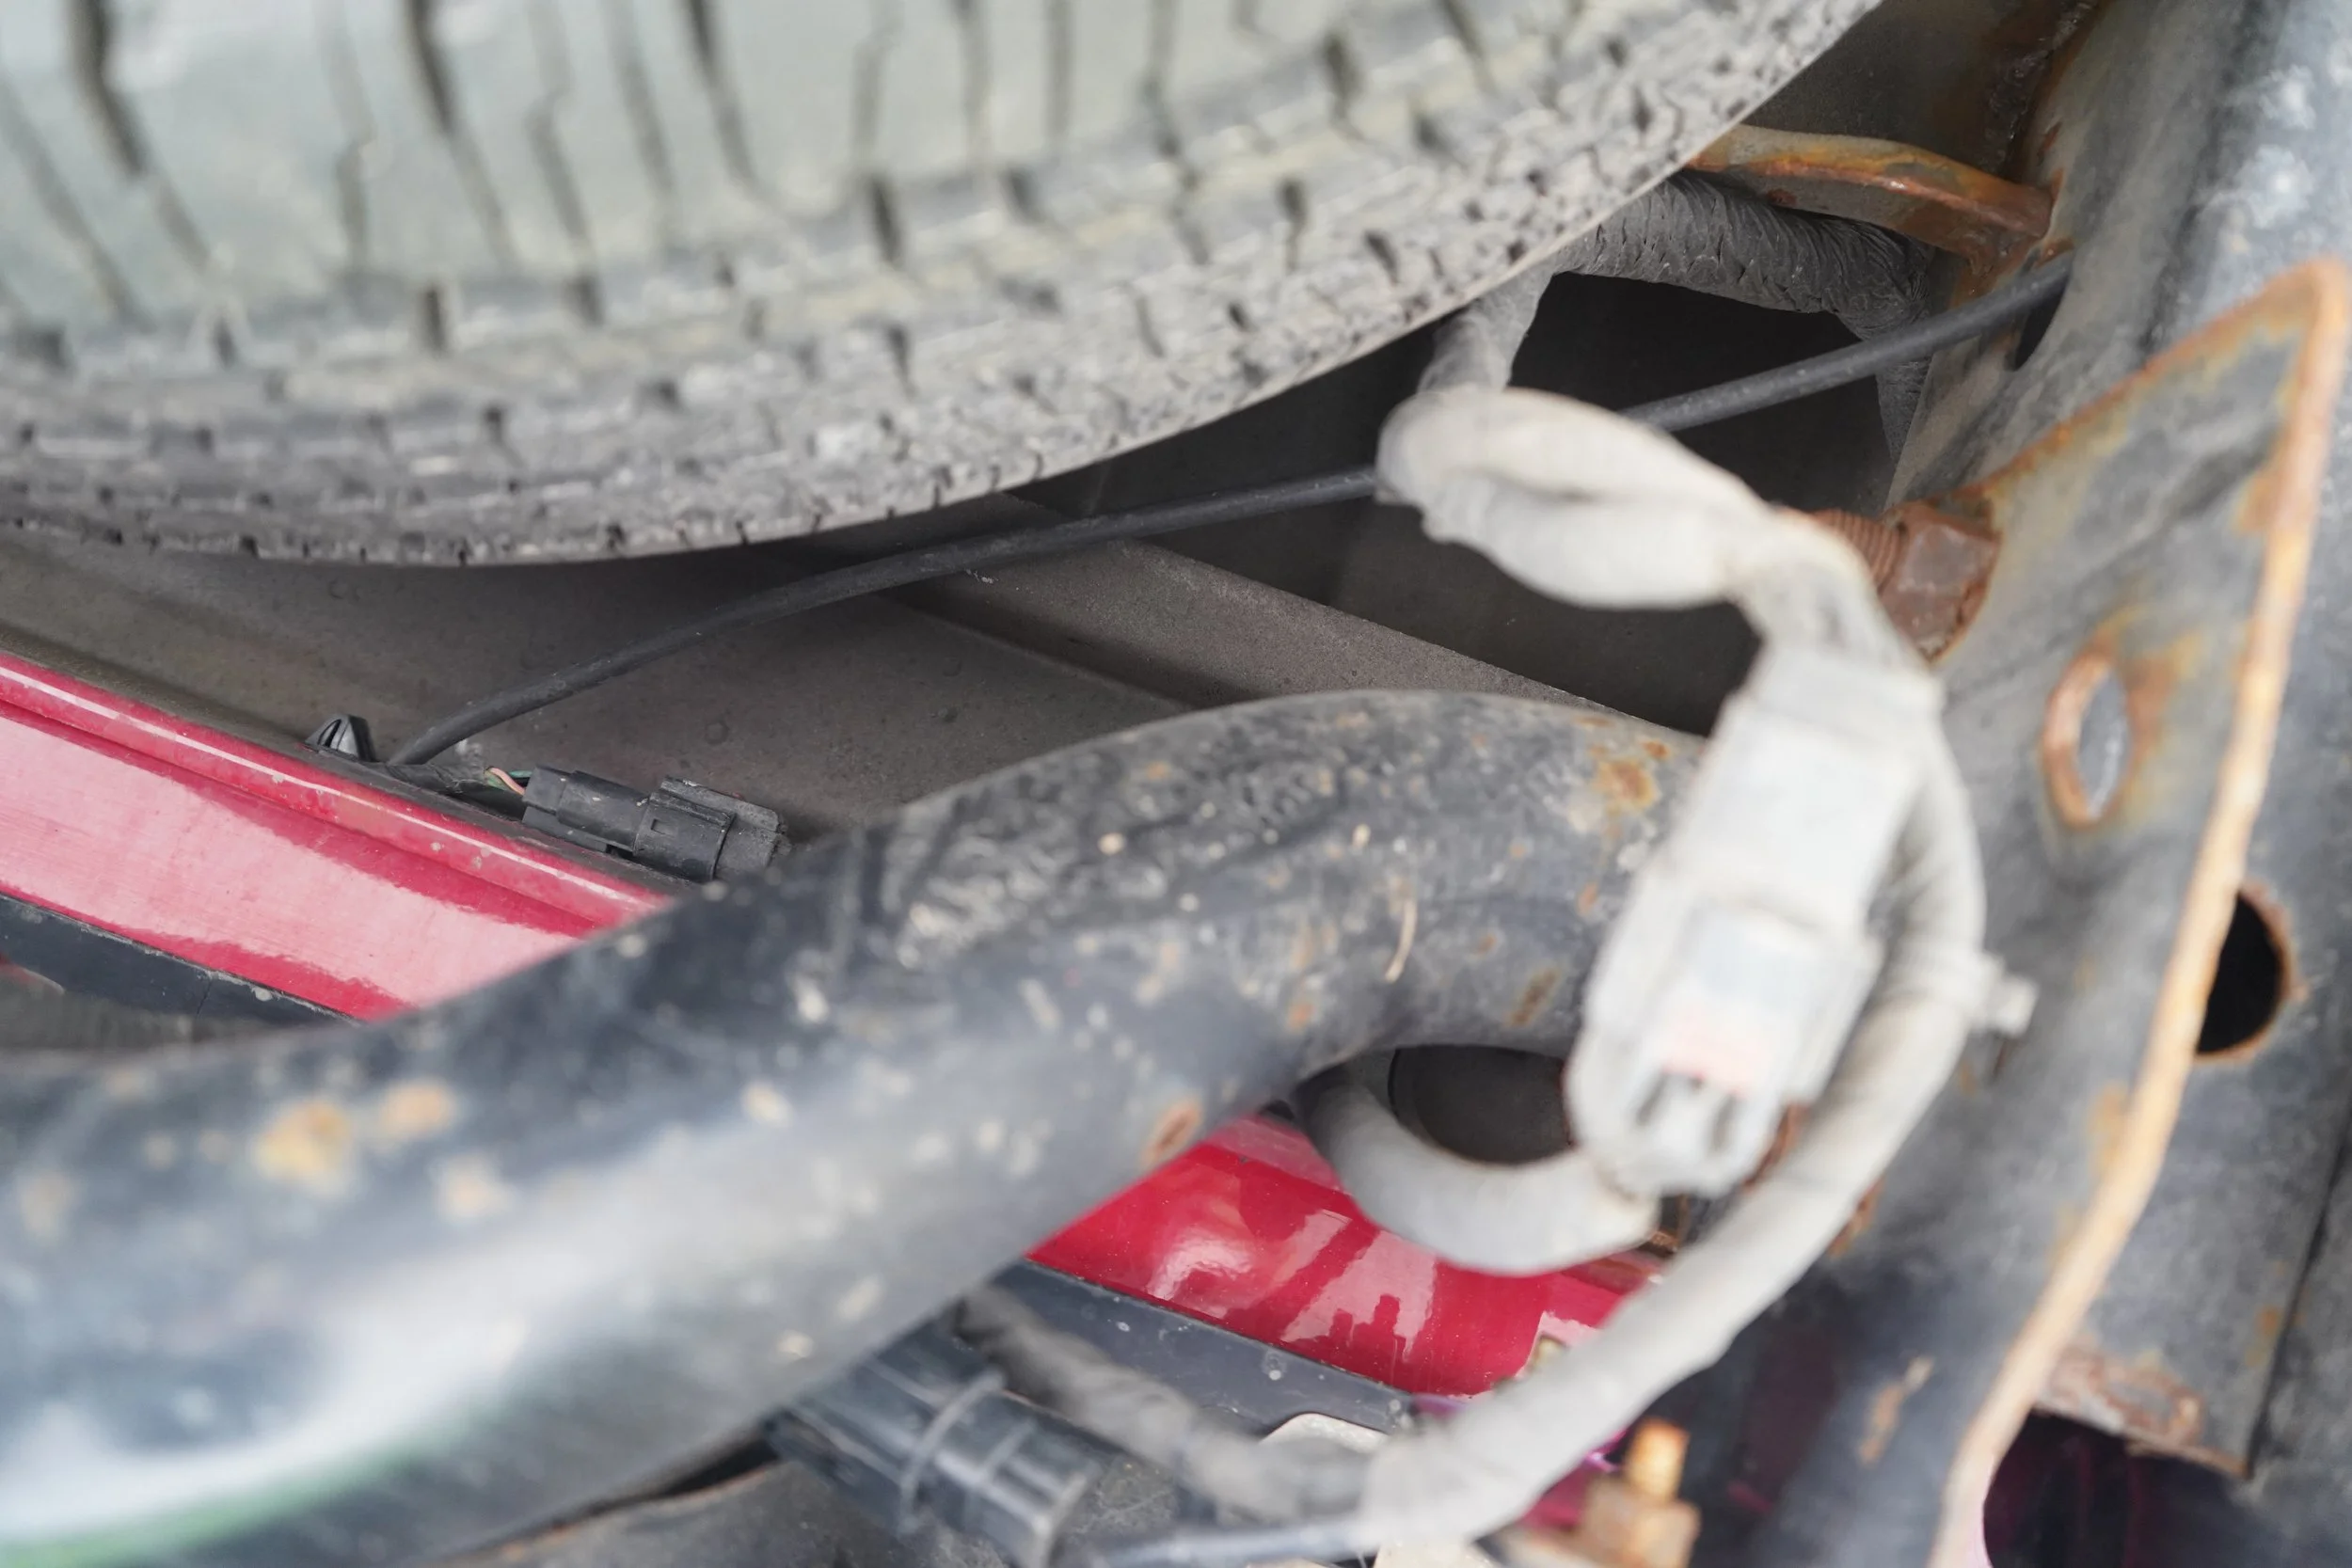
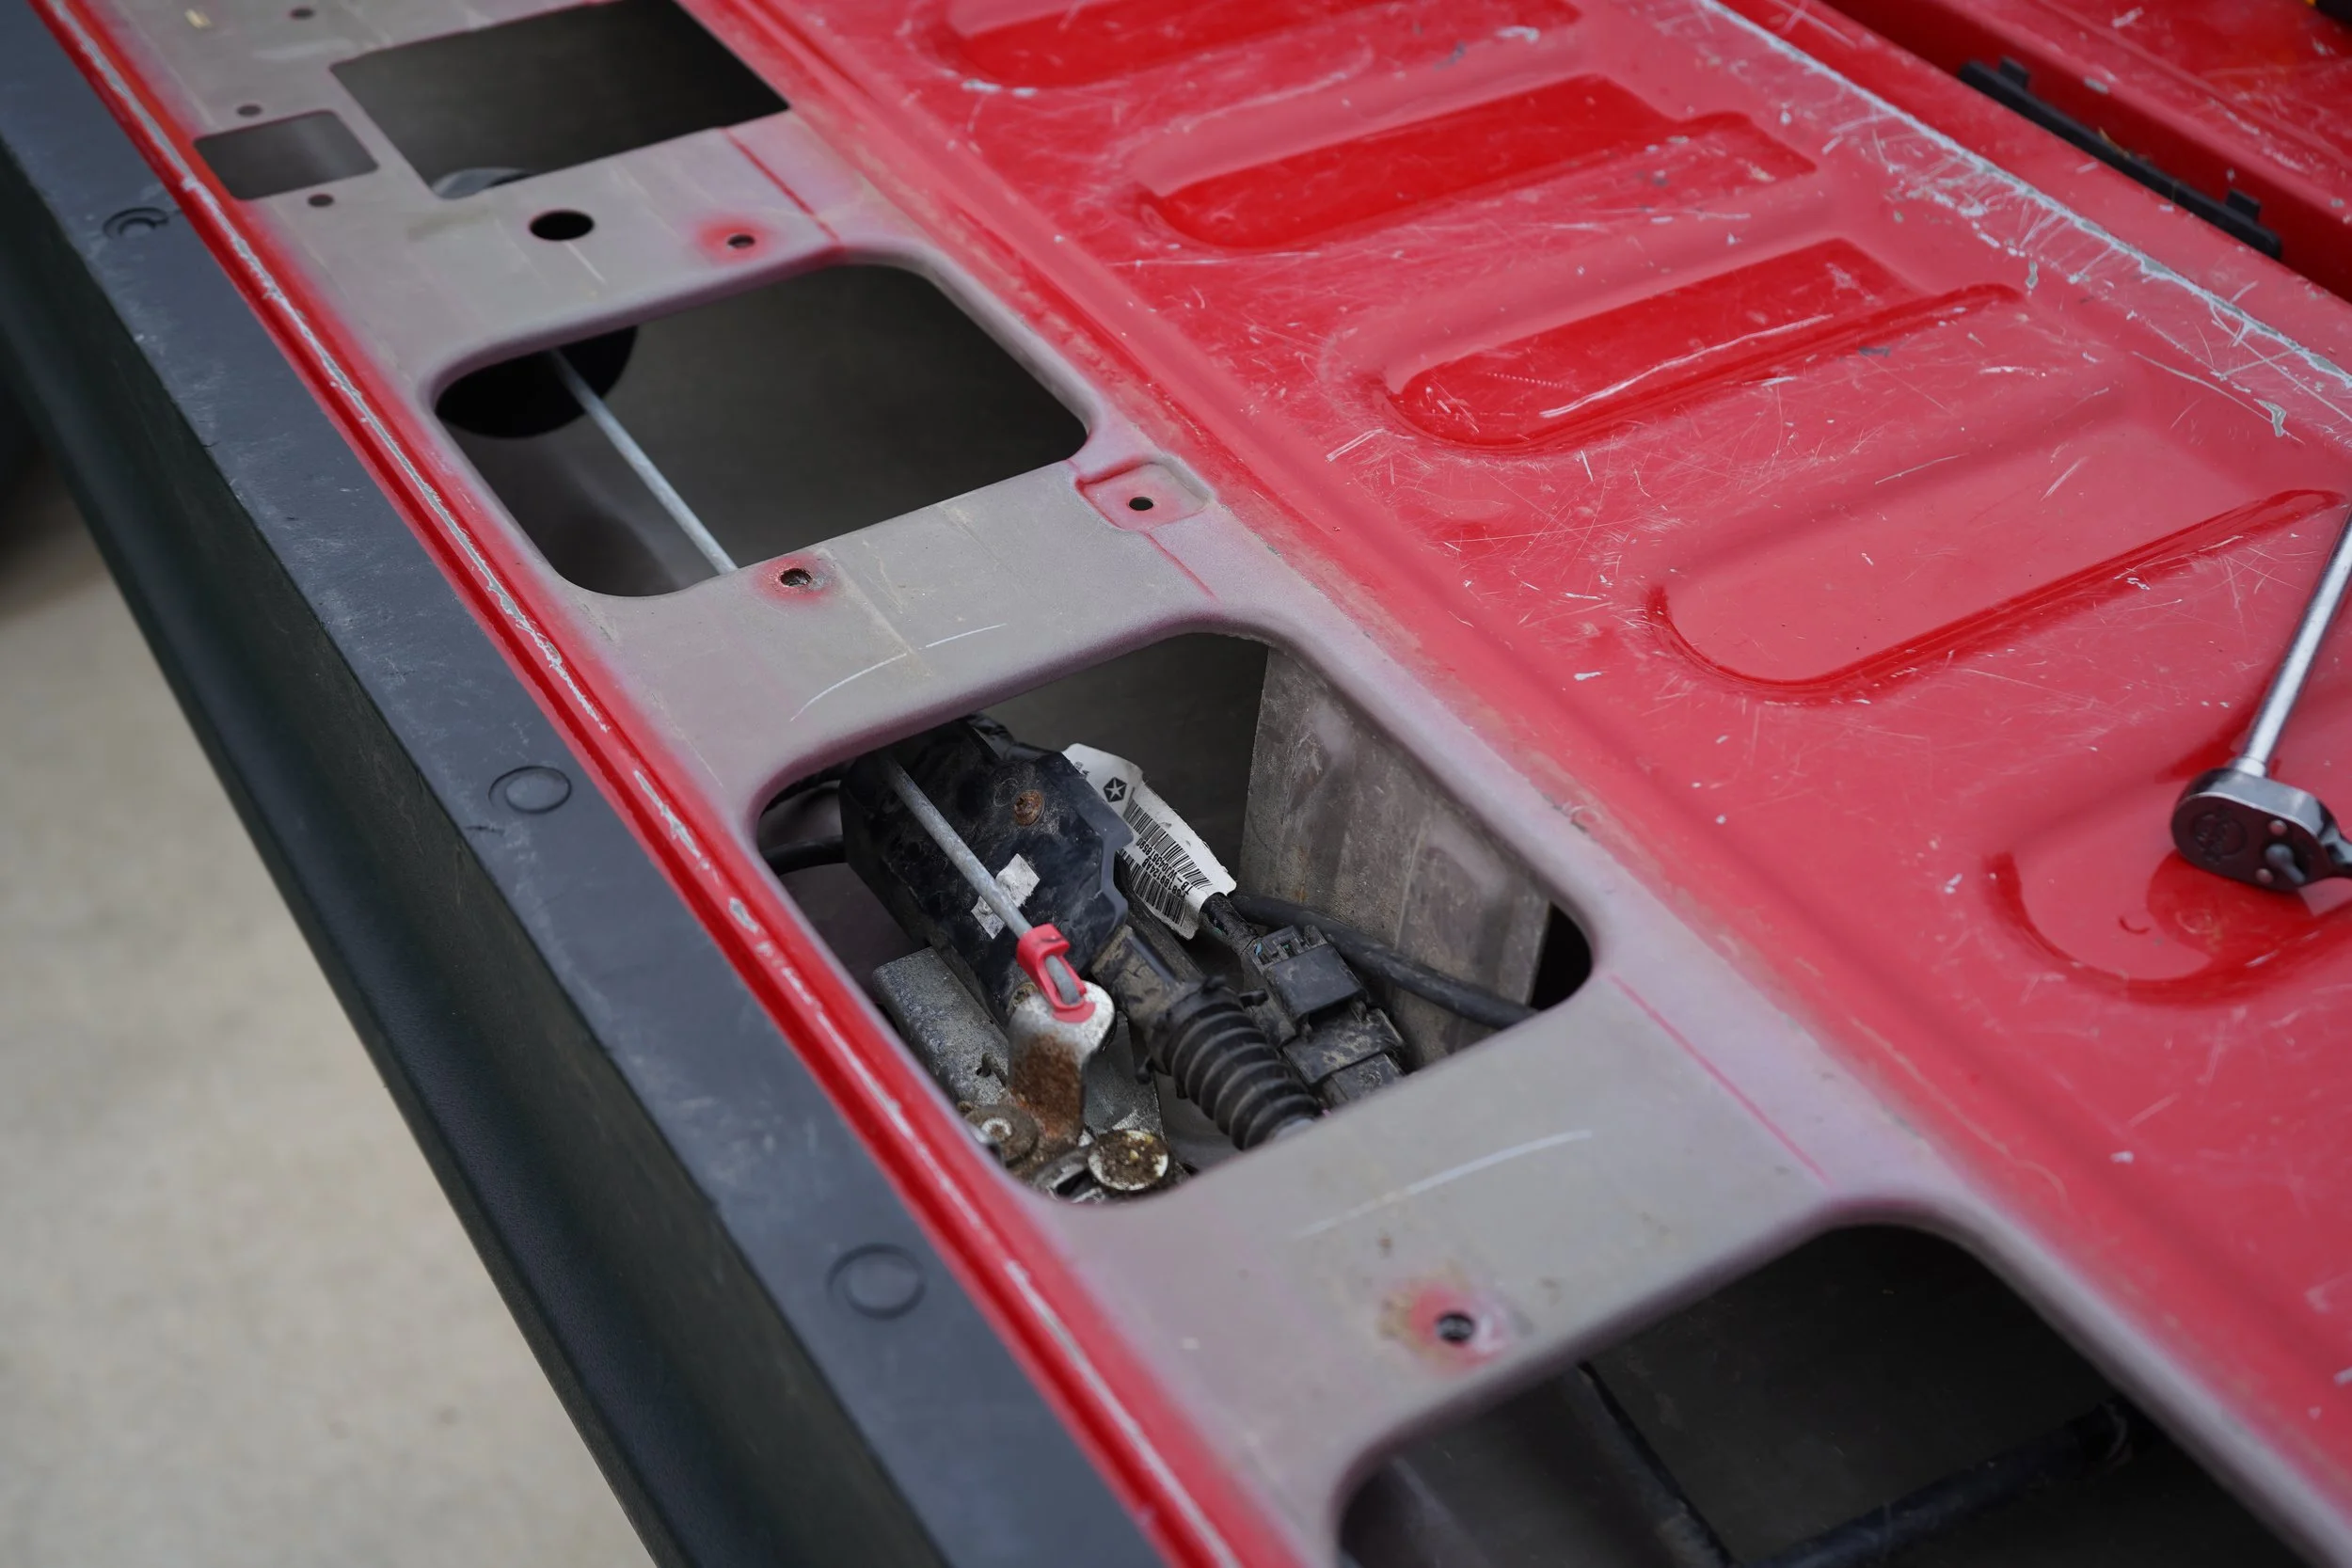
  • Once the tubing is ran to the back of the vehicle, in this case we have gone through the frame rail (see picture 3A for reference) please locate the wiring harness loom that is going into the tailgate this will be where the tubing will enter, (see picture 4A for reference) with the tailgate in the down position locate the screws that hold on the panel that is attached to the tailgate, (see picture 5A for reference) observe the best route for the tubing to go to the back of the camera . Next remove the tailgate handle.

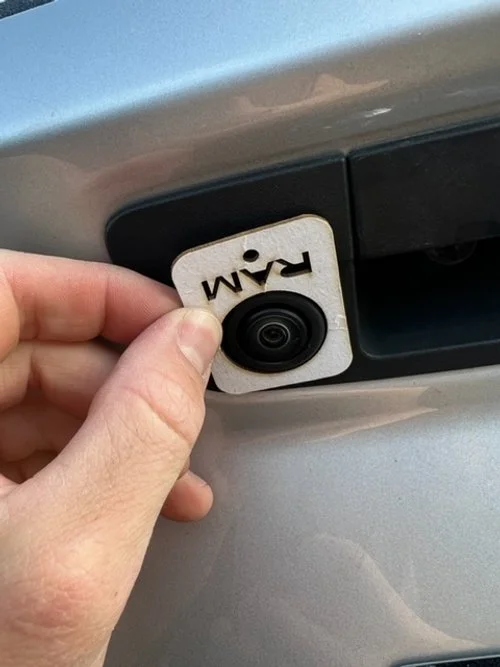
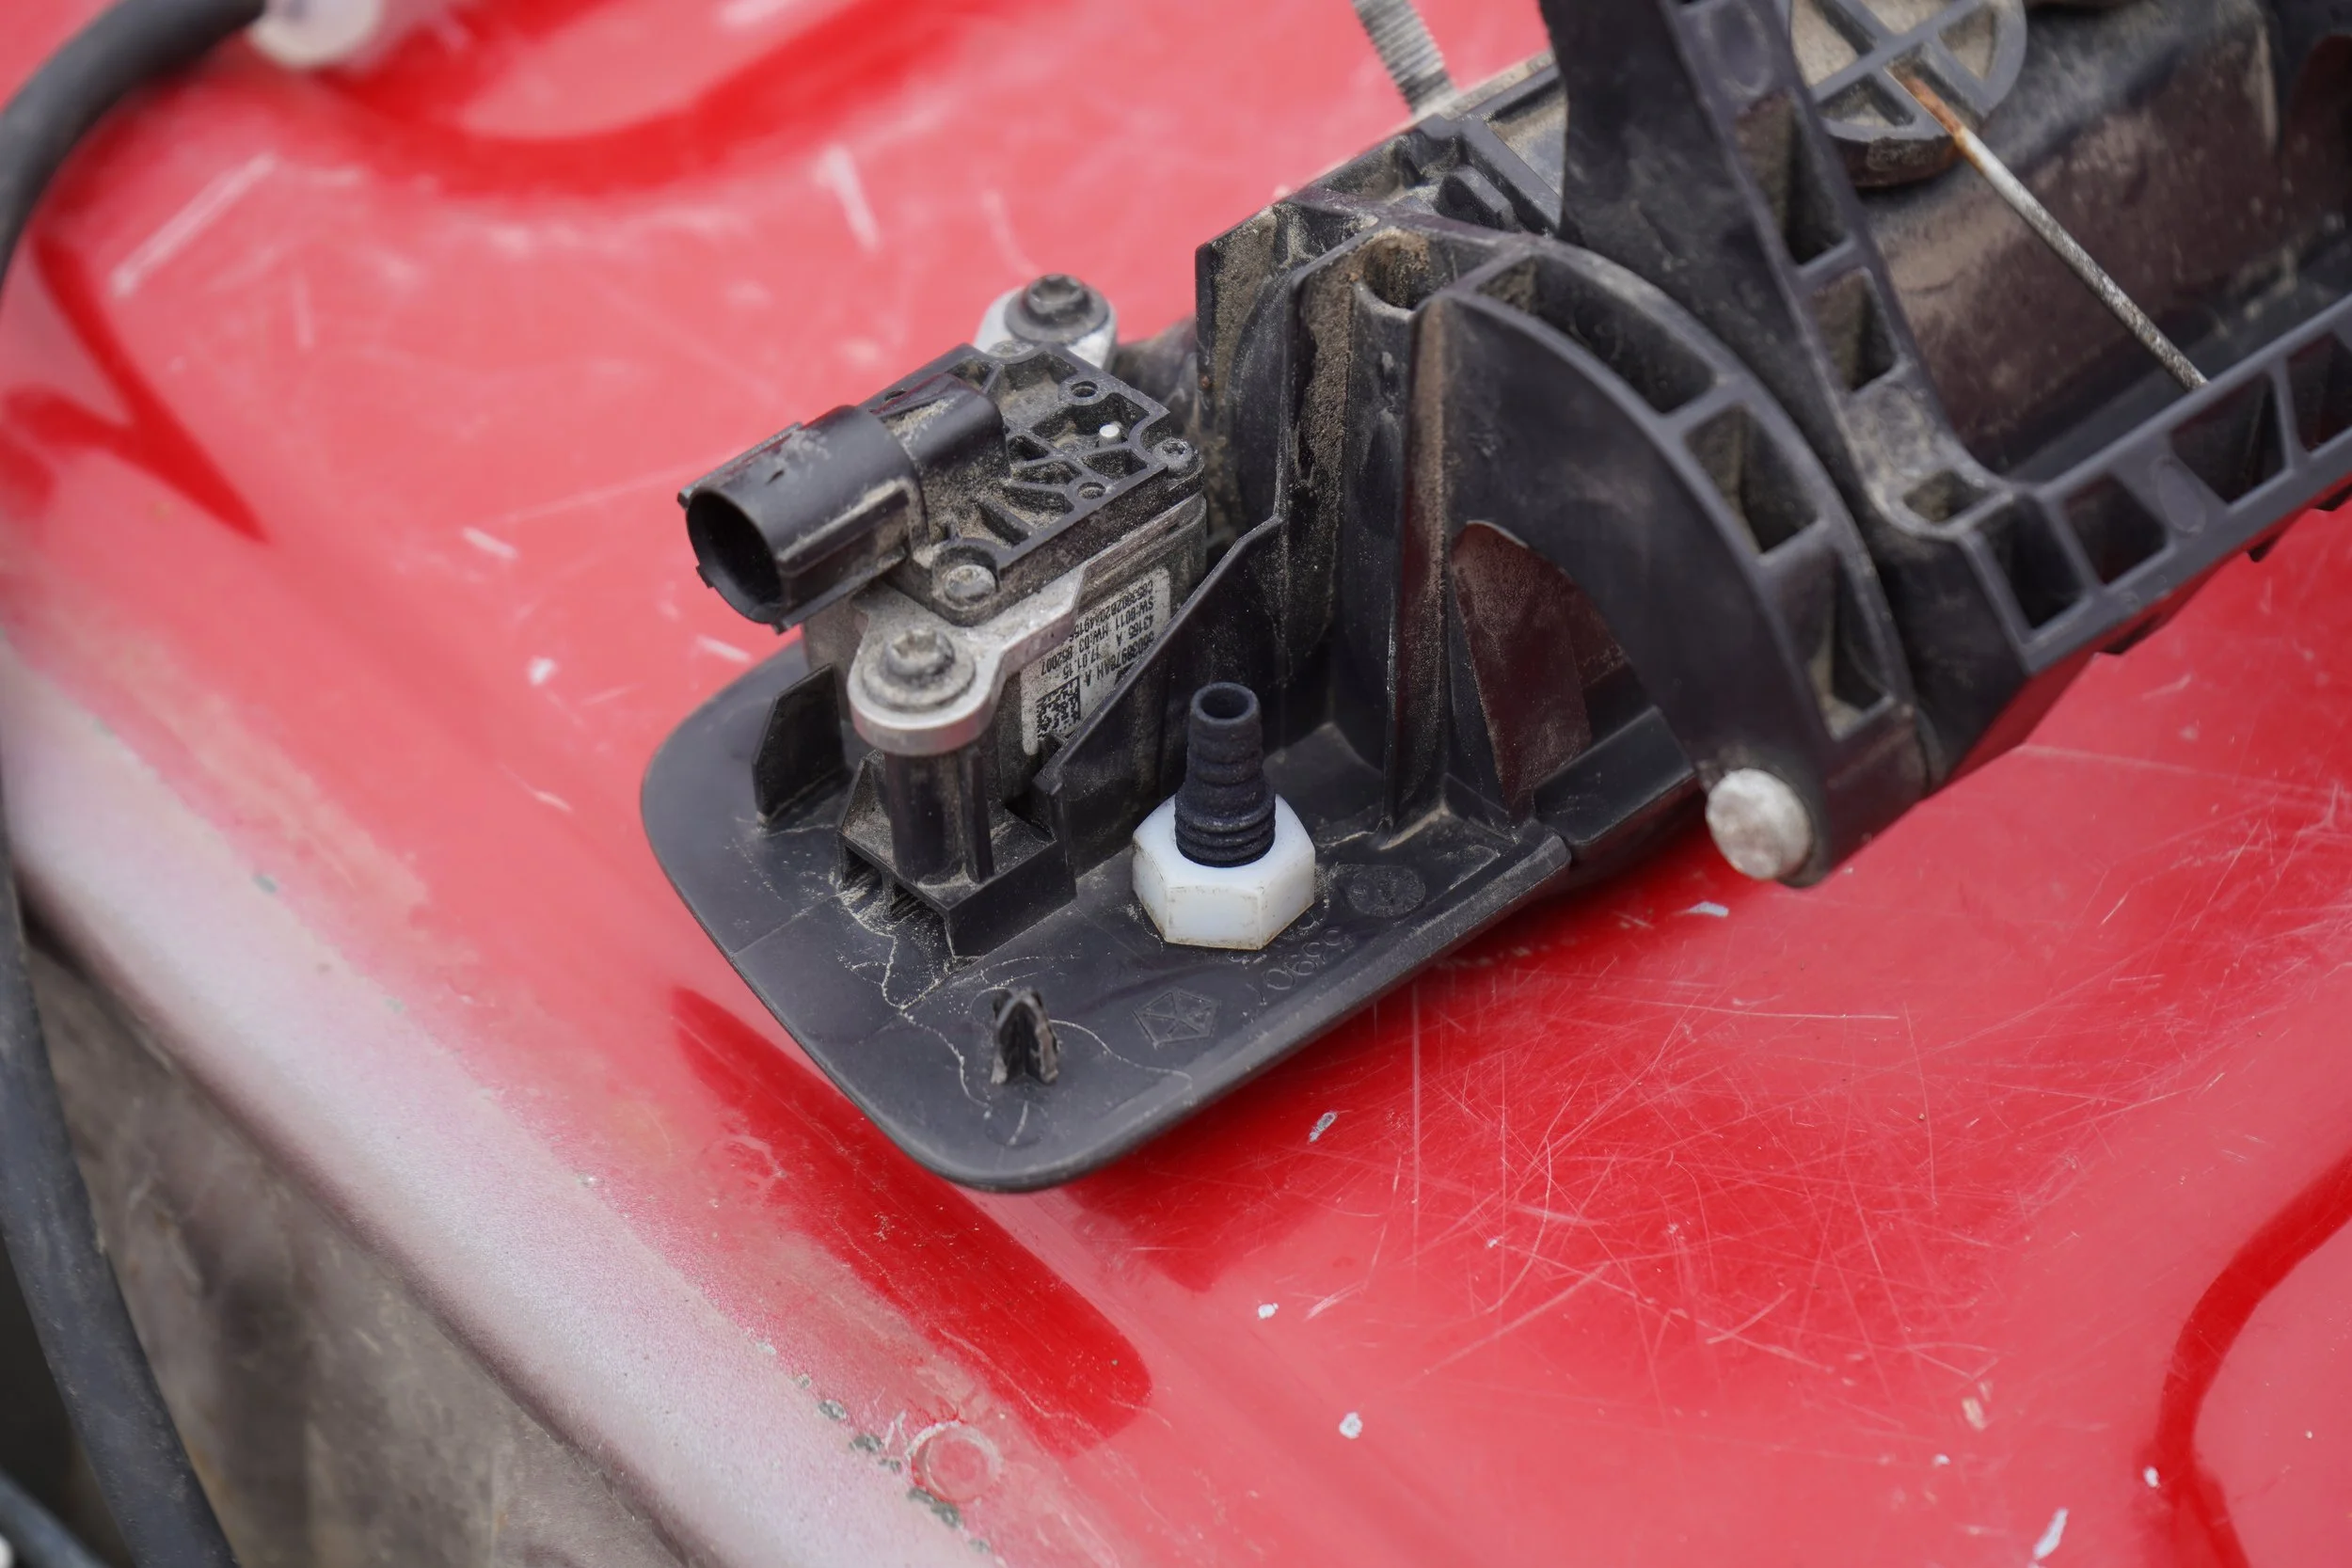
  • With the handle removed, please utilize the specifically designed template for your camera housing that was included in your kit to drill out where the sprayer will fit inside. (See picture 6A for reference.) Please insert the sprayer, and attach the nut on the backside and hand tighten. (See picture 7A for reference.) Make sure to have the sprayer pointed towards the camera lens. (See picture 8A for reference) We are almost there !

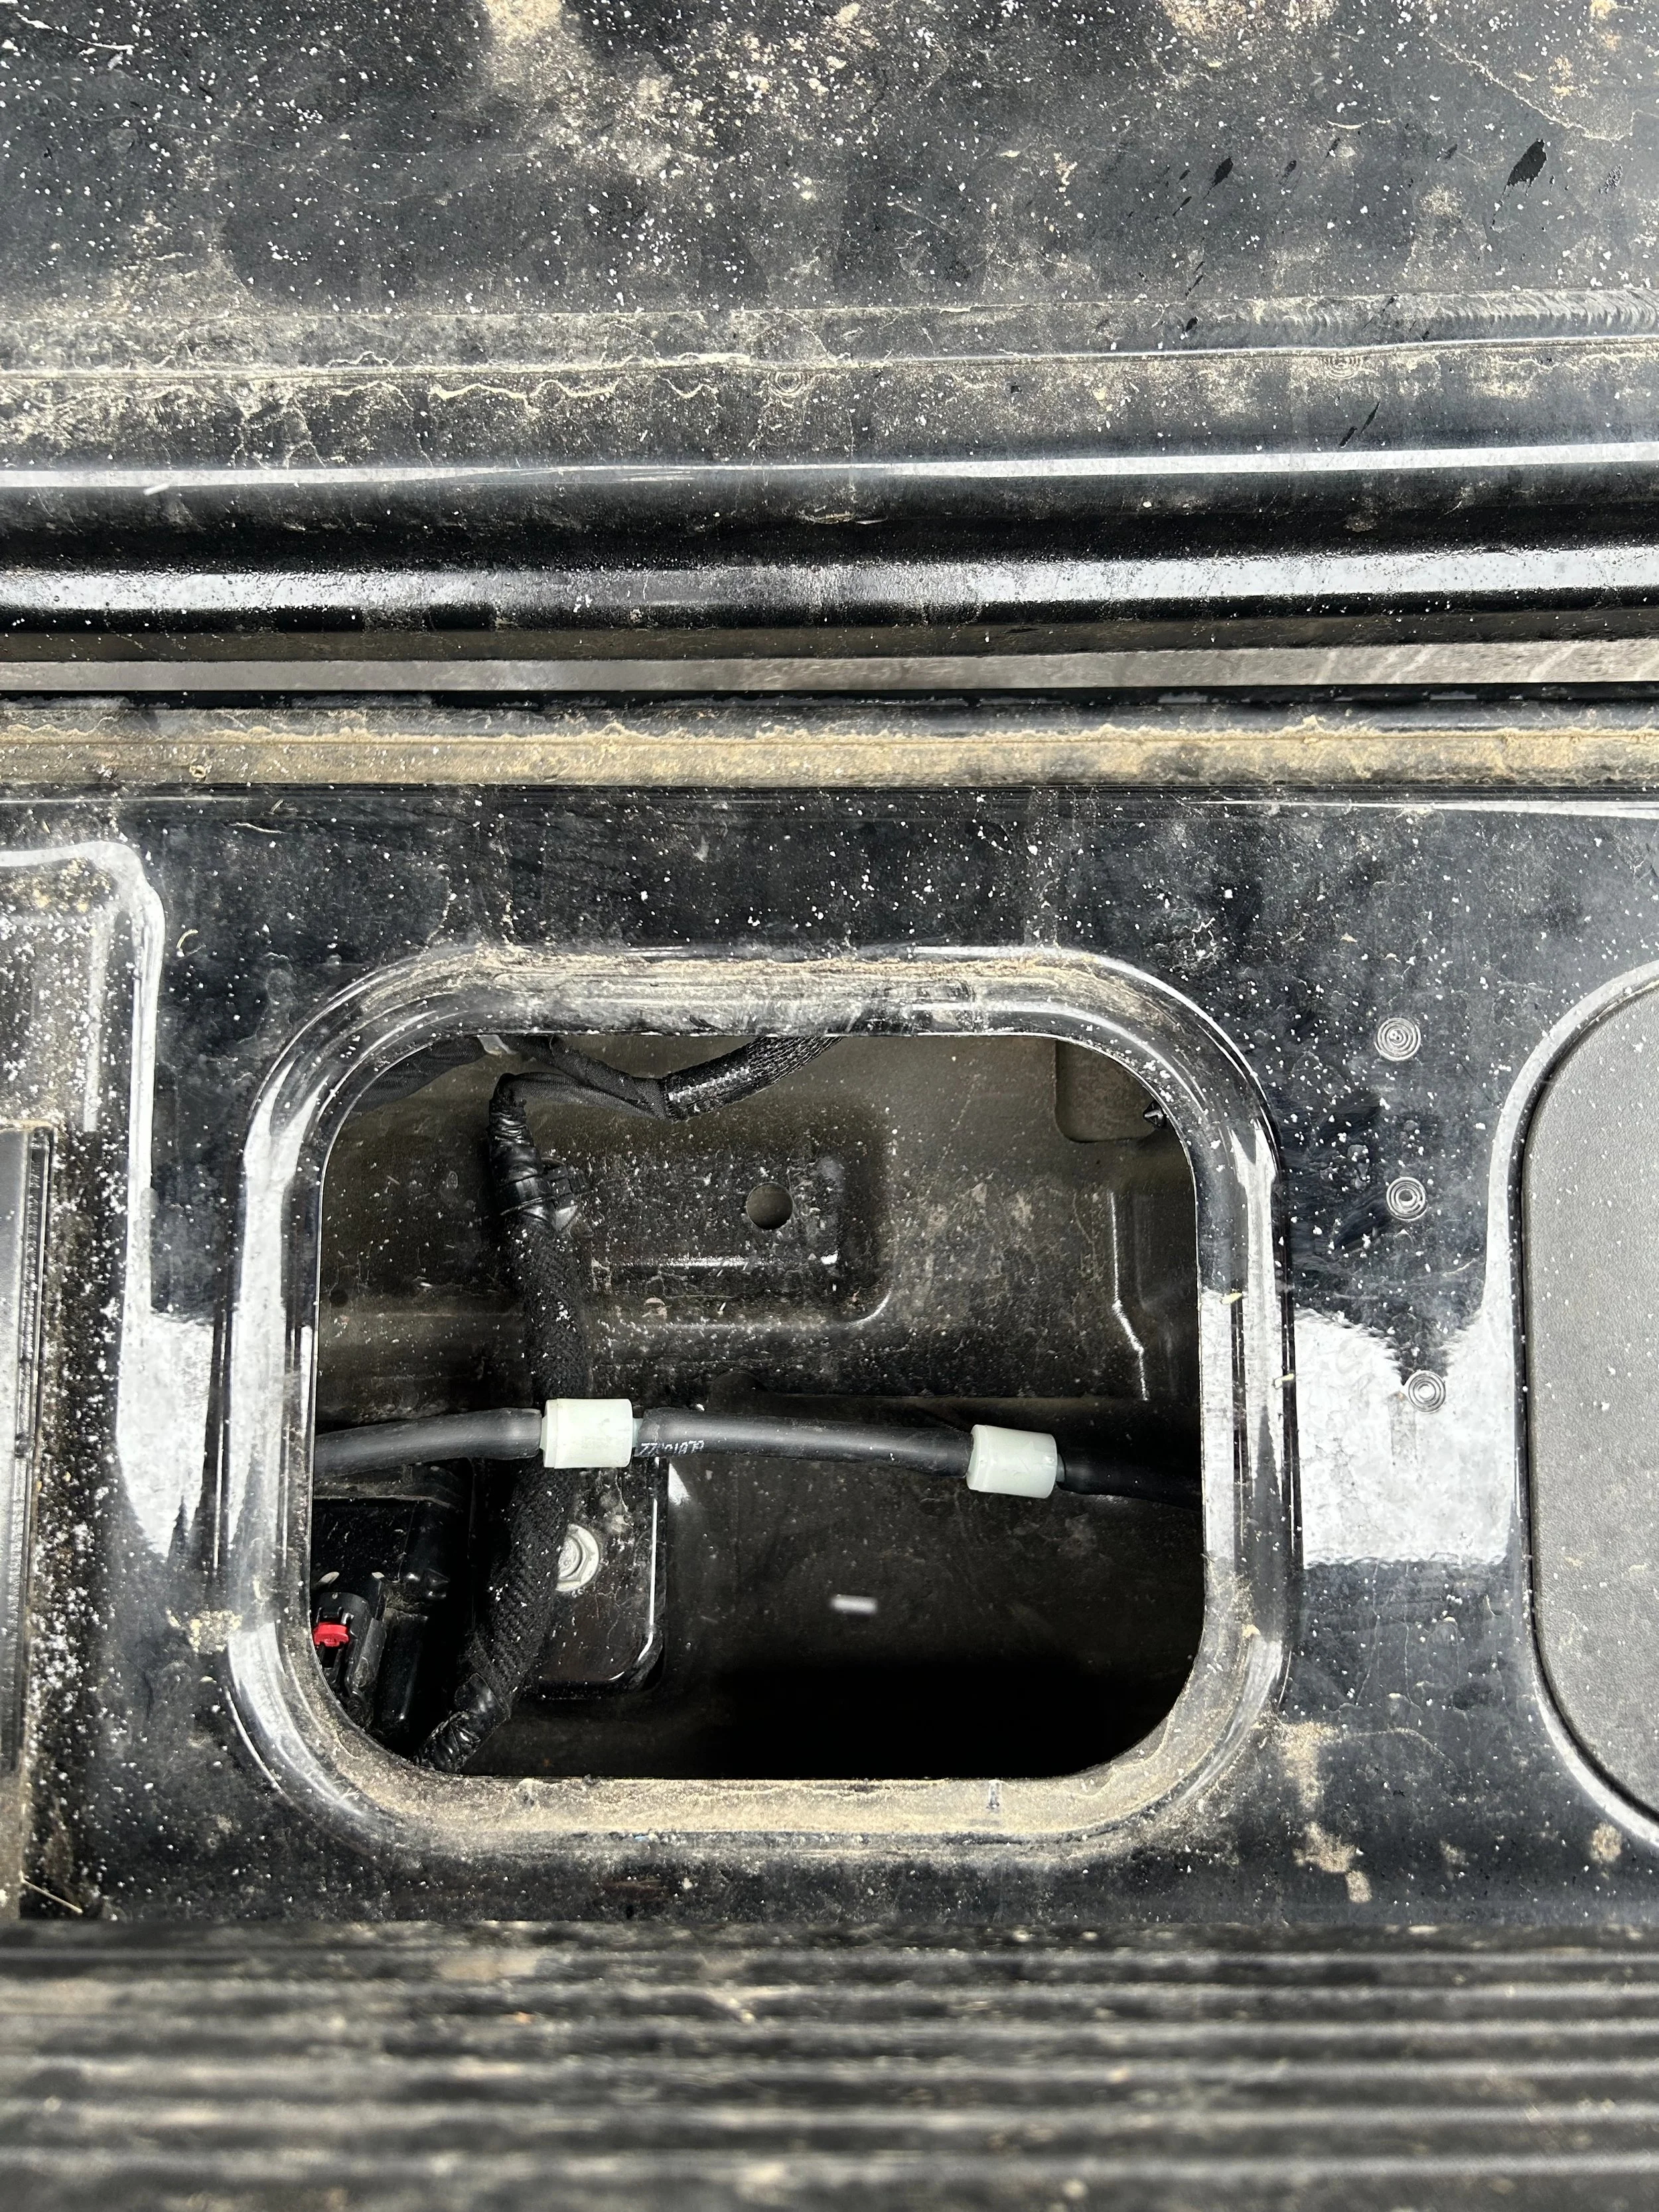
  • Next, we attach the hose to the back of the sprayer Be sure to install the directional check valve. (Included are 2 checkvalves) The arrow always points towards the sprayer. We recommended the check valve to be inserted within a foot distance of the sprayer itself. (See picture 9A for reference) Reassemble everything into the tailgate, as you took it out.

  • Make sure everything is properly reinstalled and free from pinching the ClearVU tube! Utilizing the factory controls on your truck you are ready to prime the line. Press the front windshield wiper sprayer for 5 seconds. Once performed, ClearVU is ready to be used in all elements. For added protection or lasting clarity on the lens a repellant may be applied to the camera lens.

  • ClearVU is striving to give the customer 100% satisfaction. If there are any additional comments, questions, need help? Feel free to reach out to our customer service team. Customerservice@ClearVUcam.com

Reference 1A

Reference 2A

Reference 3A

Reference 4A

Reference 5A

Reference 6A

Reference 7A

Reference 8A

Reference 9A