
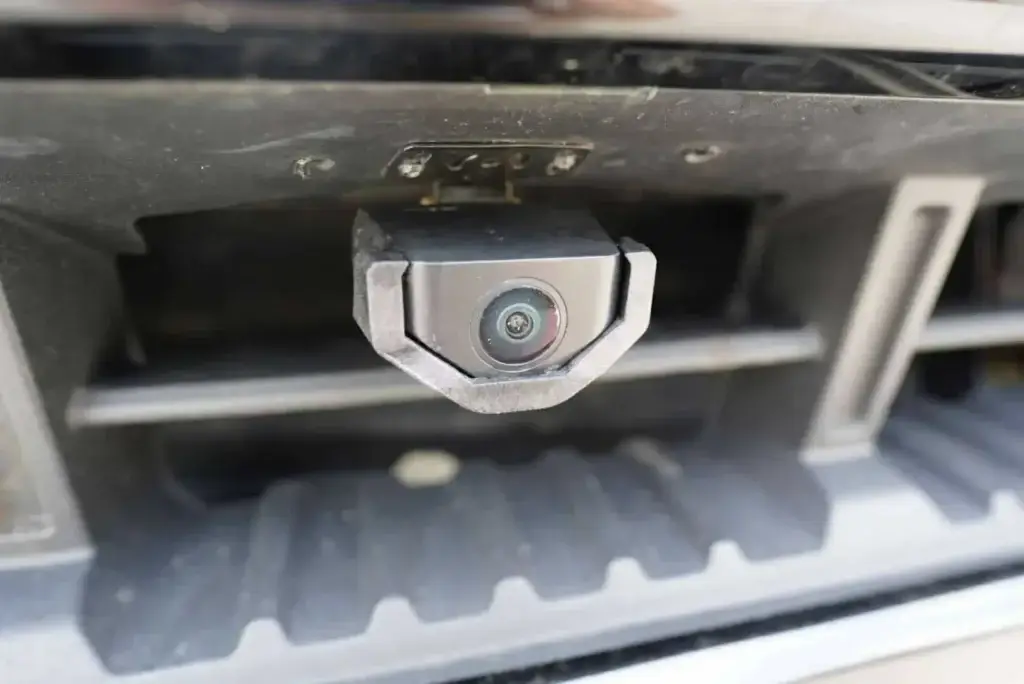
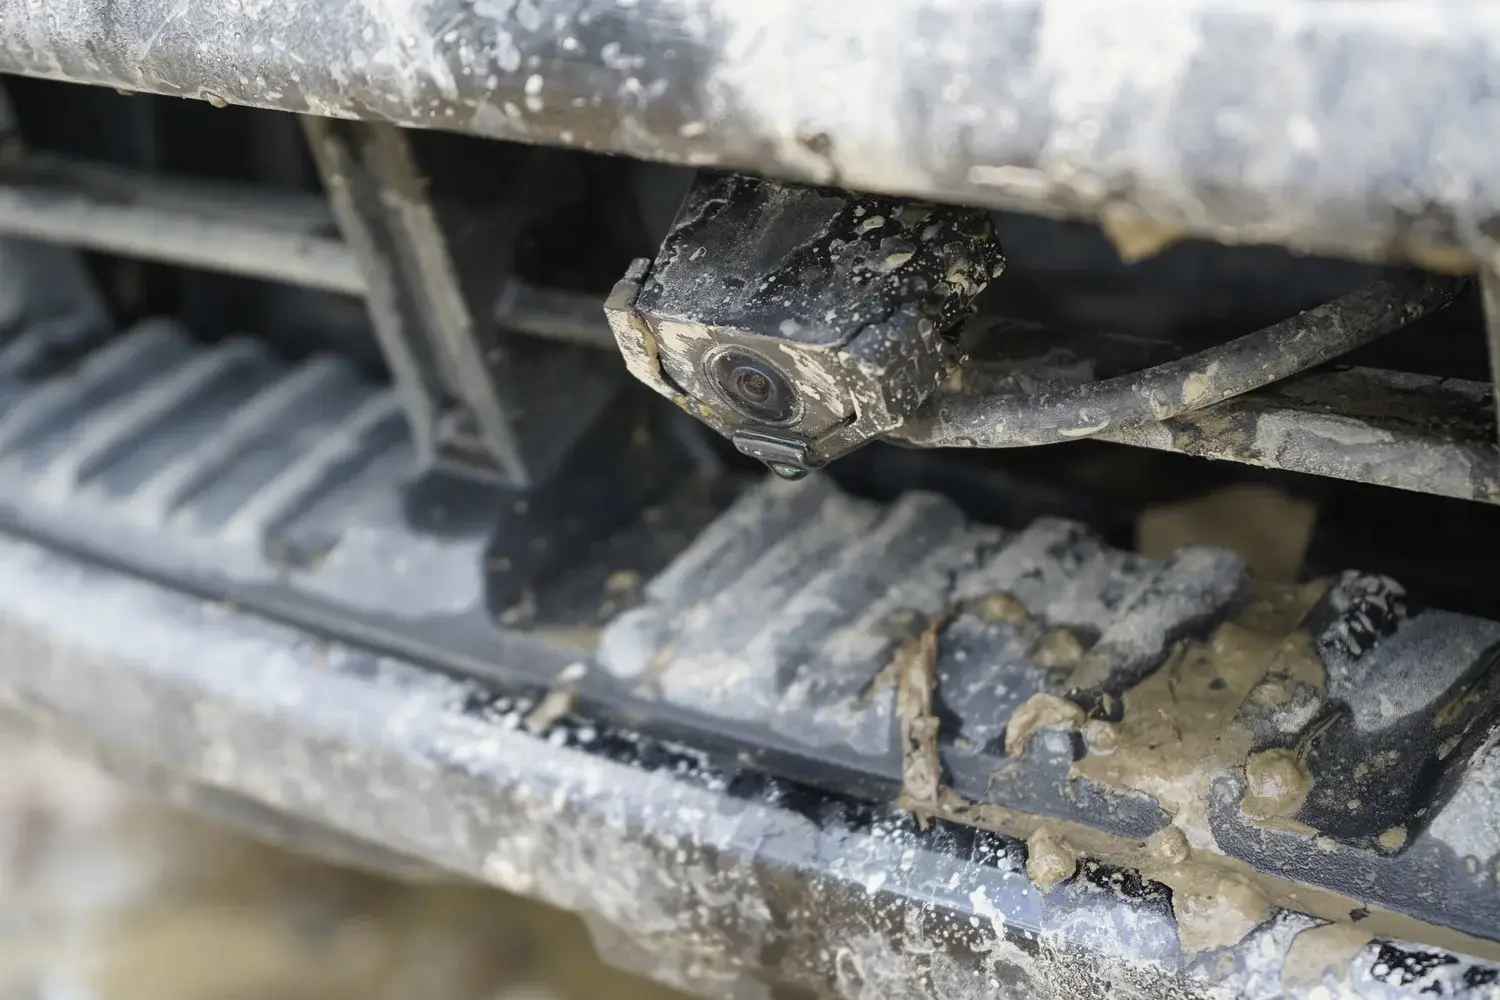
See where your template goes and compare it with other vehicles that use the same template.
Remove content from ClearVU kit, ensure all components are present and set to the side.
Step 2:
Open the hood and locate the windshield wiper fluid line running to the front windshield wiper fluid nozzles.
Step 3:
Cut the rubber hose and insert the provided T-Fitting into the existing hose.
Step 4:
Cut a 3”-5” piece of hose and attach one end to the T-Fitting; take the Shut-Off Valve and attach it to the other end of the 3”-5” section of hose.
Step 5:
Run the rubber hose, provided in your ClearVU kit, from the Shut-Off Valve to the Wolfbox G900 Pro Camera. Ensure hose is tucked away and secured to any non-moving parts of the vehicle.
Step 6:
Insert Check Valve(s) provided in your kit roughly 3”-5” away from Washer Nozzle. BE SURE THE ARROW IS POINTED IN THE DIIRECTION OF FLOW.
Step 7:
Attach Washer Nozzle to Wolfbox G900 Pro by pressing it down over Wolfbox G900 Pro camera, firmly but carefully, until you hear it snap into position.
Step 8:
Attach hose to Washer Nozzle and test your ClearVU System.
Step 9:
Enjoy a Clear View with ClearVU!!!
*If any parts are lost, defective, or broken during install, please contact to have a replacement shipped to you at no cost. Contact: customer service at (716)-492-1653 or customerservice@clearvucam.com
Please let us know below if there is anything we can do to help you better understand the installation process!
Our team is happy to walk you through it. Call customer service at (716) 398-2246 or email customerservice@clearvucam.com.