
Congratulations on your purchase of ClearVU. With this Step by step install process it should be as simple and clear as your camera when you are done! Please follow the slides to install on any SUV / Hatchback. Use it together with the Drill Template Reference to find where your template goes.
Each kit includes a numbered template. Look up your vehicle to see exactly where it goes, then come back to step 4.
Please have all contents of your ClearVU kit ready for install. Additional tools that will be needed: (power drill & 5/16th drillbit, snips or any means of cutting, and your basic hand tools) Additional tools recommended: Extra zip ties if necessary for tubing, and also if you prefer a smaller drill bit for a pilot hole.
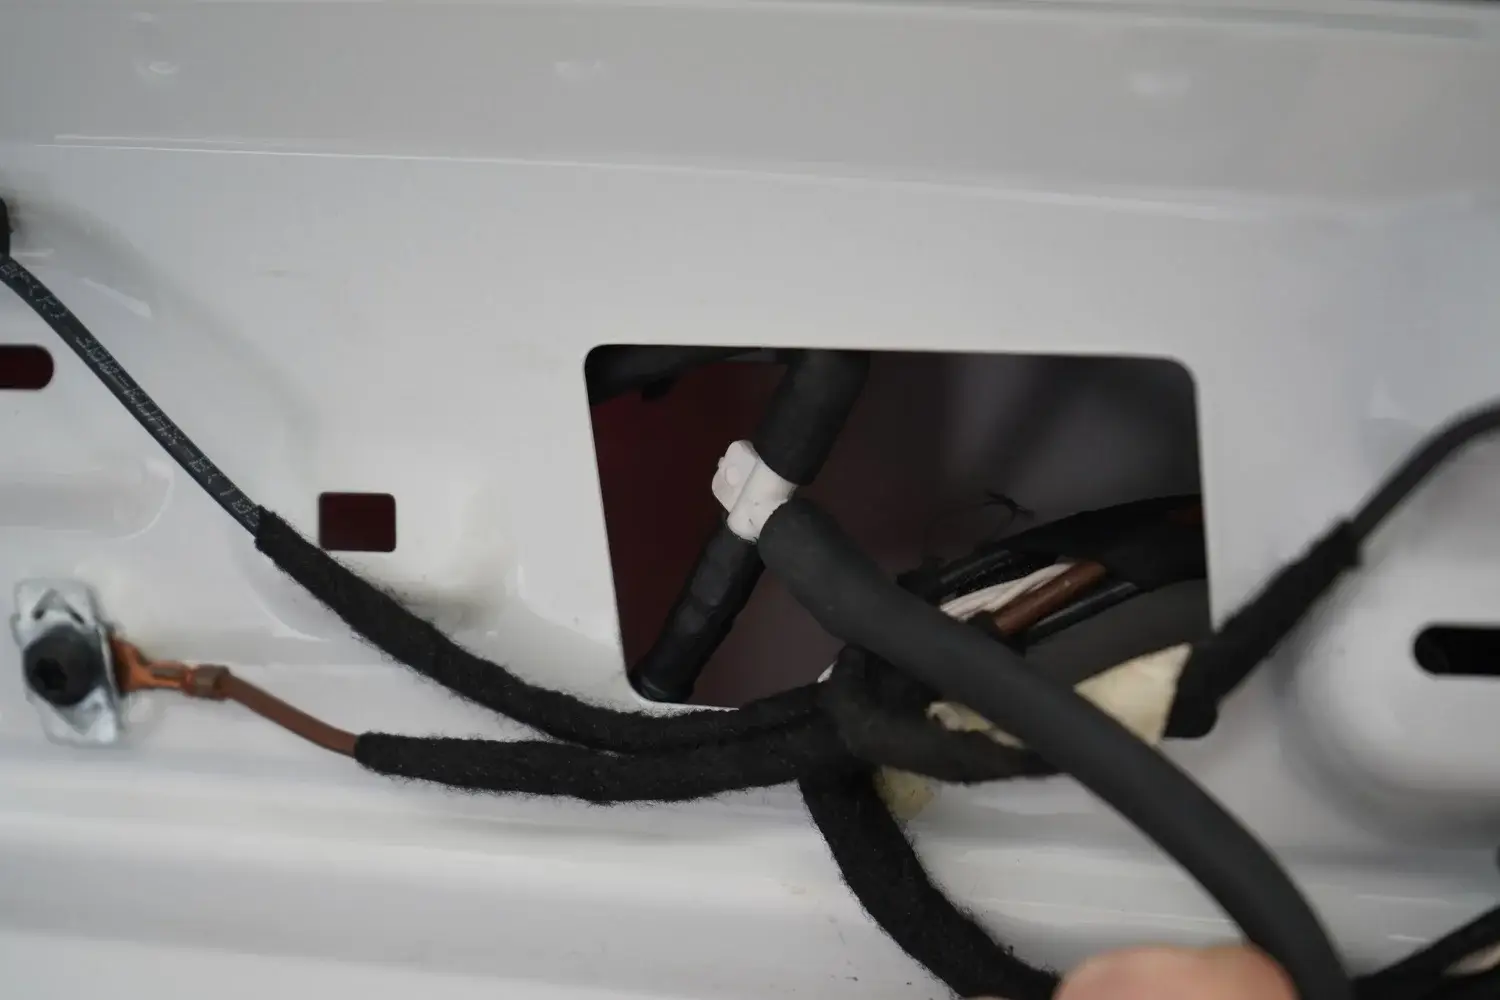
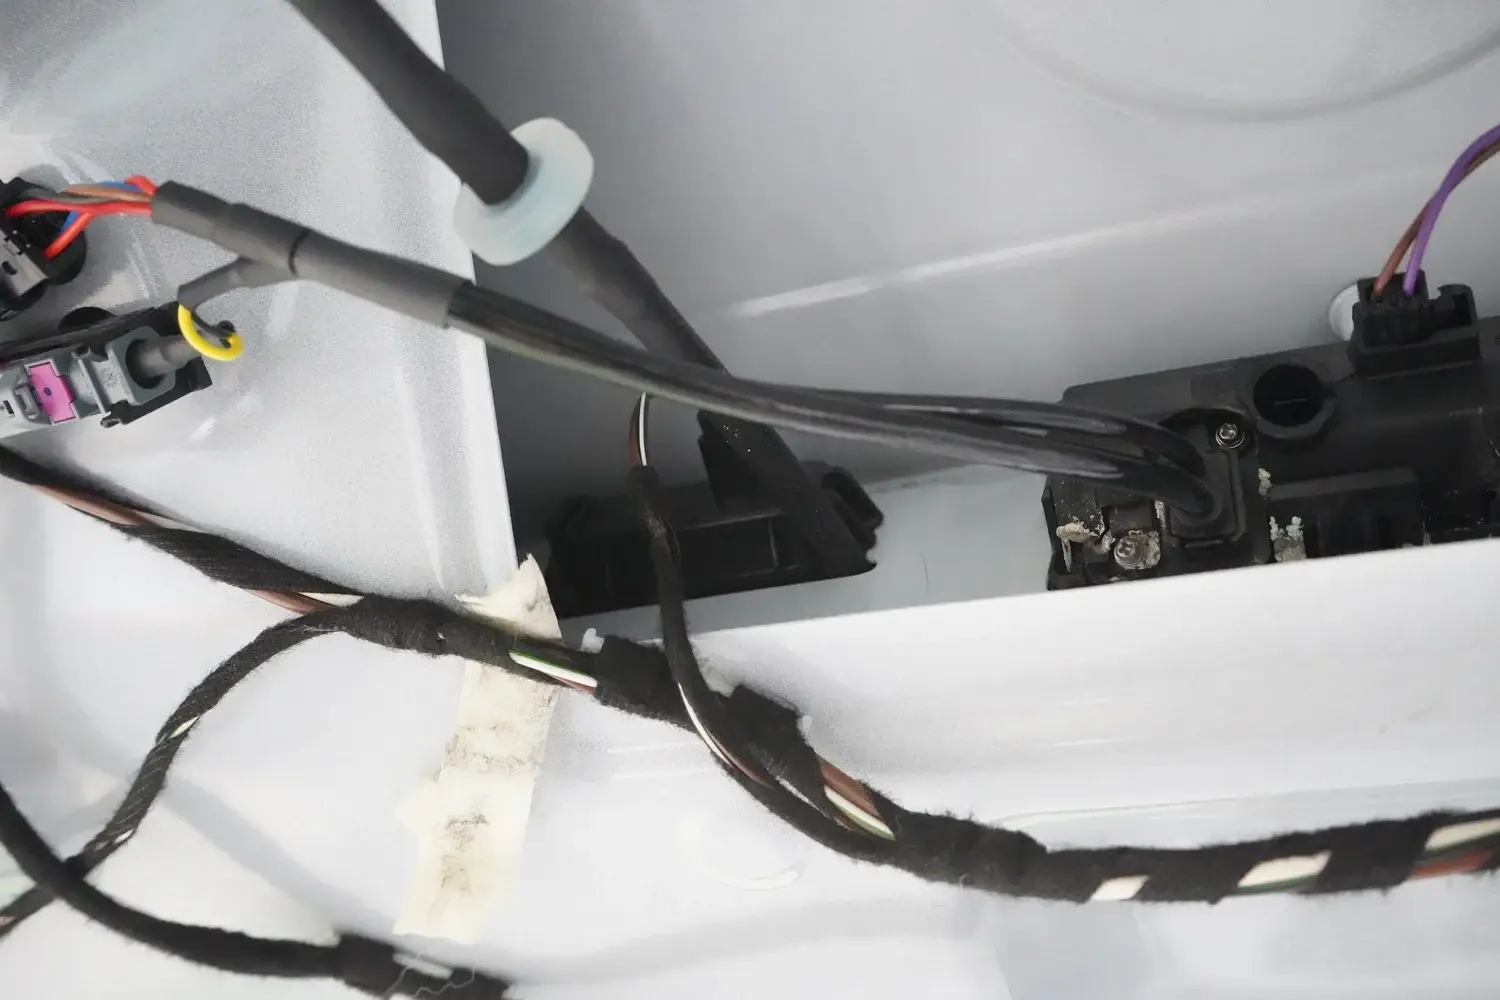
Now that you have all your materials needed, we will need to locate your factory windshield wiper line going to the rear sprayer. We will start by removing the panel/s that is protecting the backside of the hatch area. You may have to look around for the line a little bit… it's there! ( see picture 1A for reference) Once you have located the line it is time to insert the T-fitting provided in line with the hose.
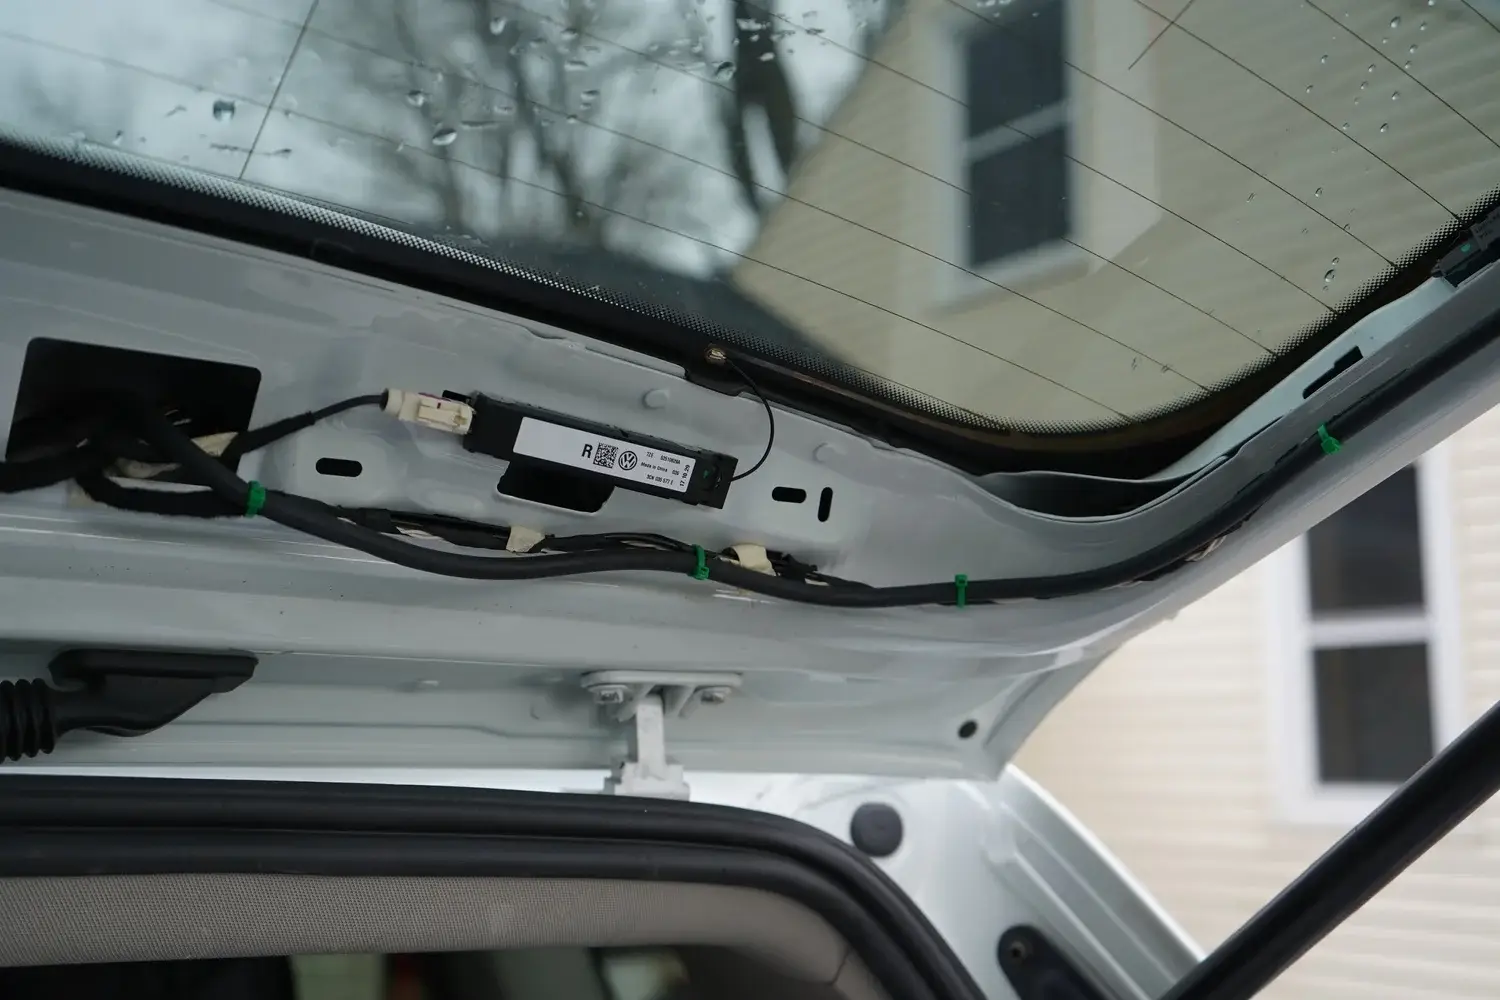
Great! Now that you have inserted the T-fitting, it is time to run the hose provided. (Please see Picture 2A for reference) how to do this.
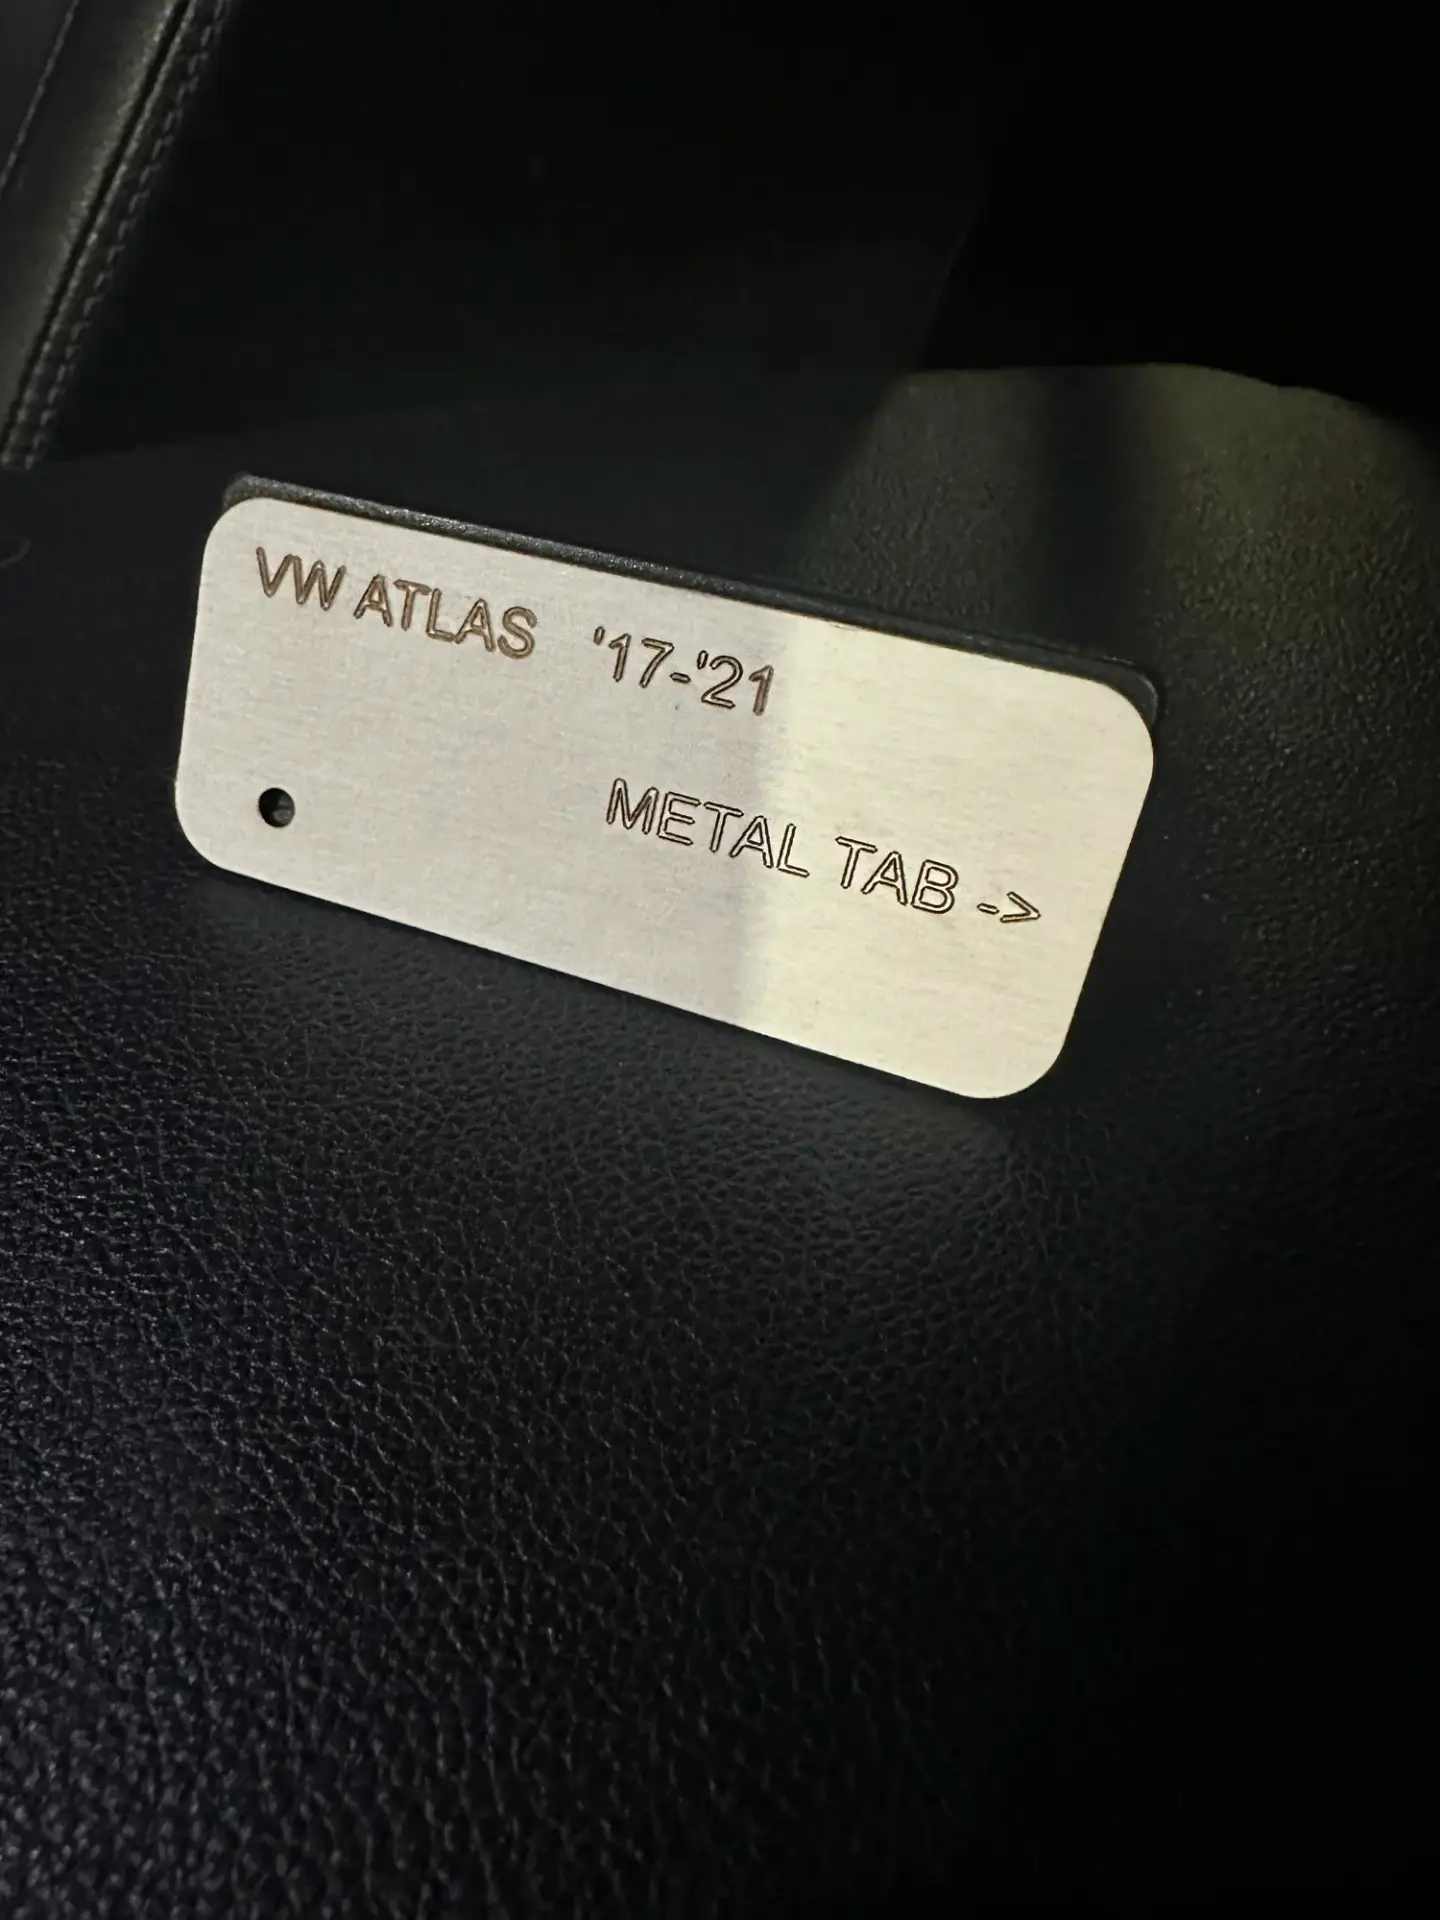
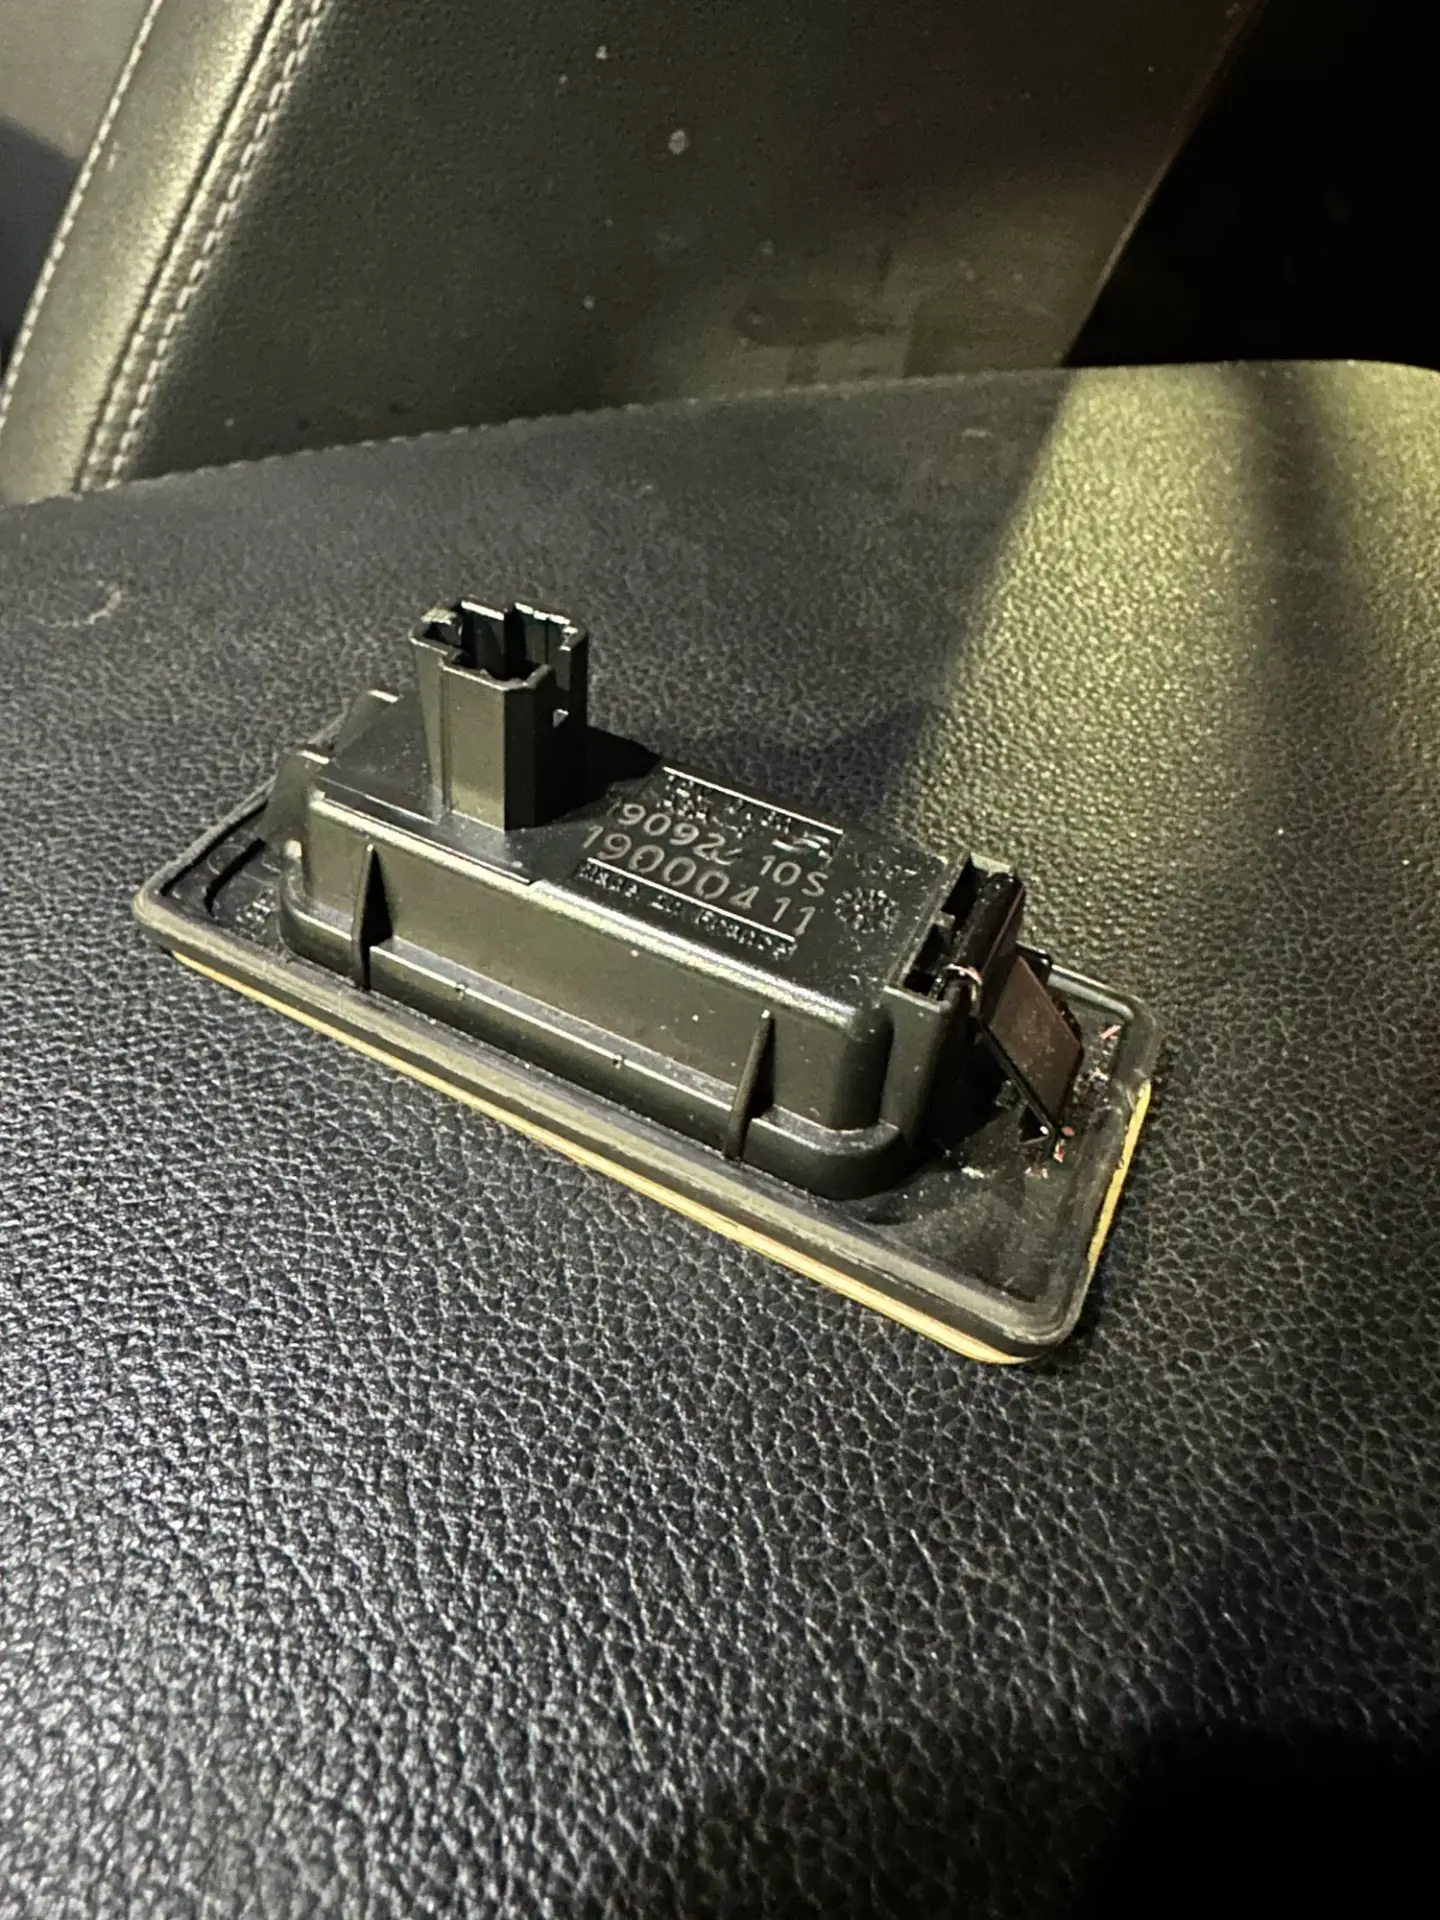
Once the tubing is run to approximately where the tubing will exit the vehicle, We will reference the "Drill template reference" page on our website as to where the line will be exiting the vehicle. We will match our drill template to the location ClearVU tells you to drill the 1/4in hole. (See picture 3A for reference, if there is a specific thing on template to match up on template, please match accordingly, see picture 3B for reference)
With the hose routed, attach the check valve as close as possible to the end of the hose where the sprayer will be fitted. (See picture 4A for reference) We are almost there!
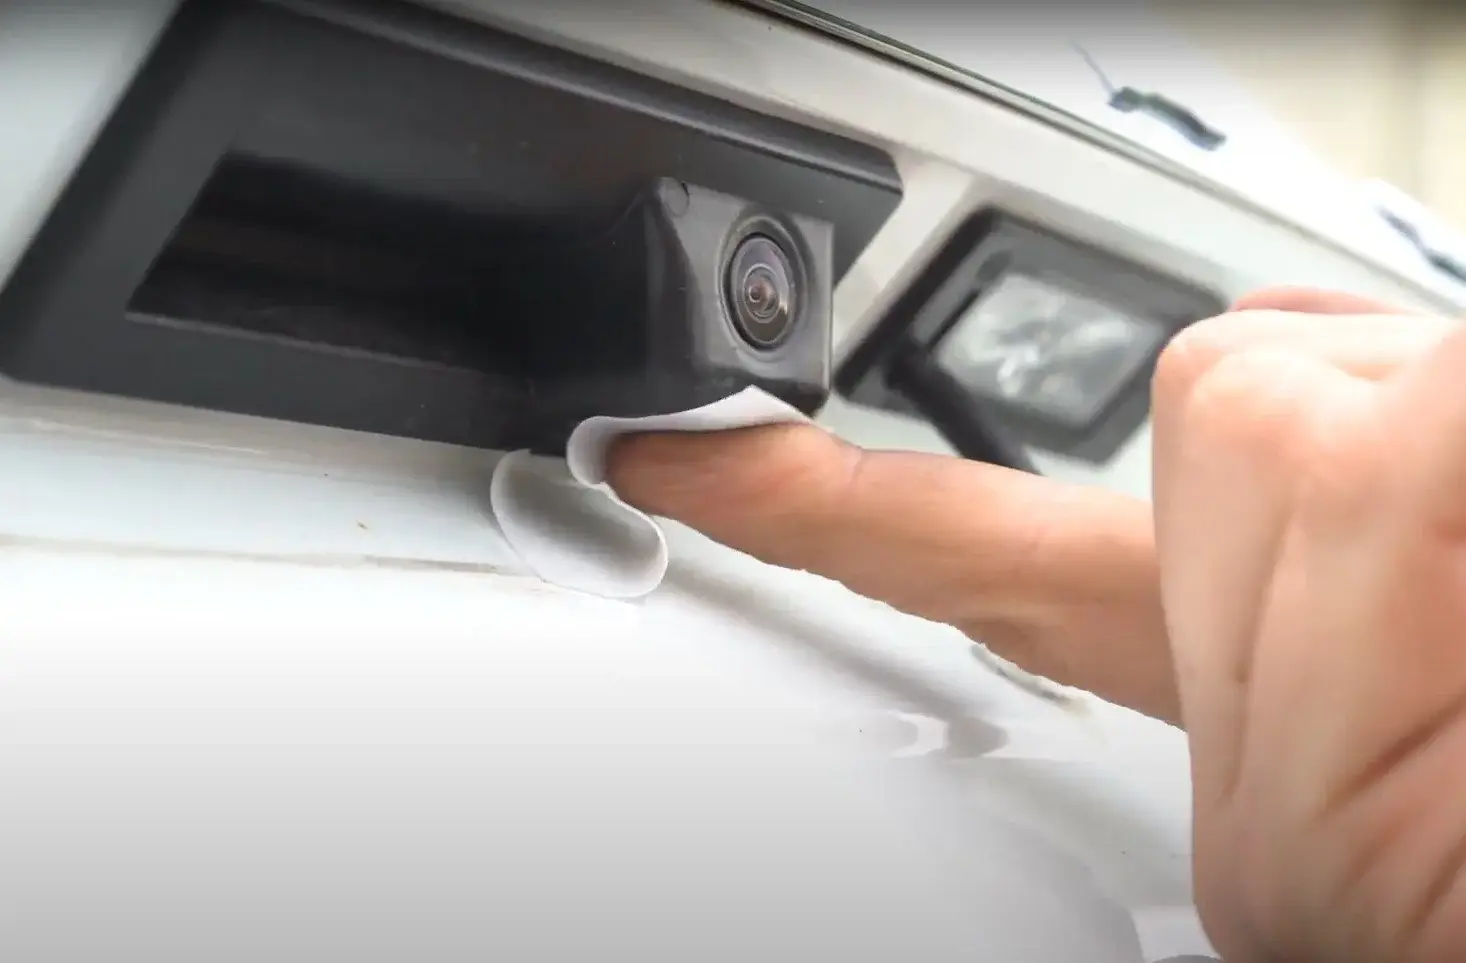
Next, we will clean and prepare the surface of the camera housing in order to install the sprayer. Use the alcohol wipe included in your kit to clean the bottom surface of the camera housing. (See picture 5A for reference) Let dry before installing sprayer. This is a critical step to ensure the sprayer will stay attached to the camera housing.
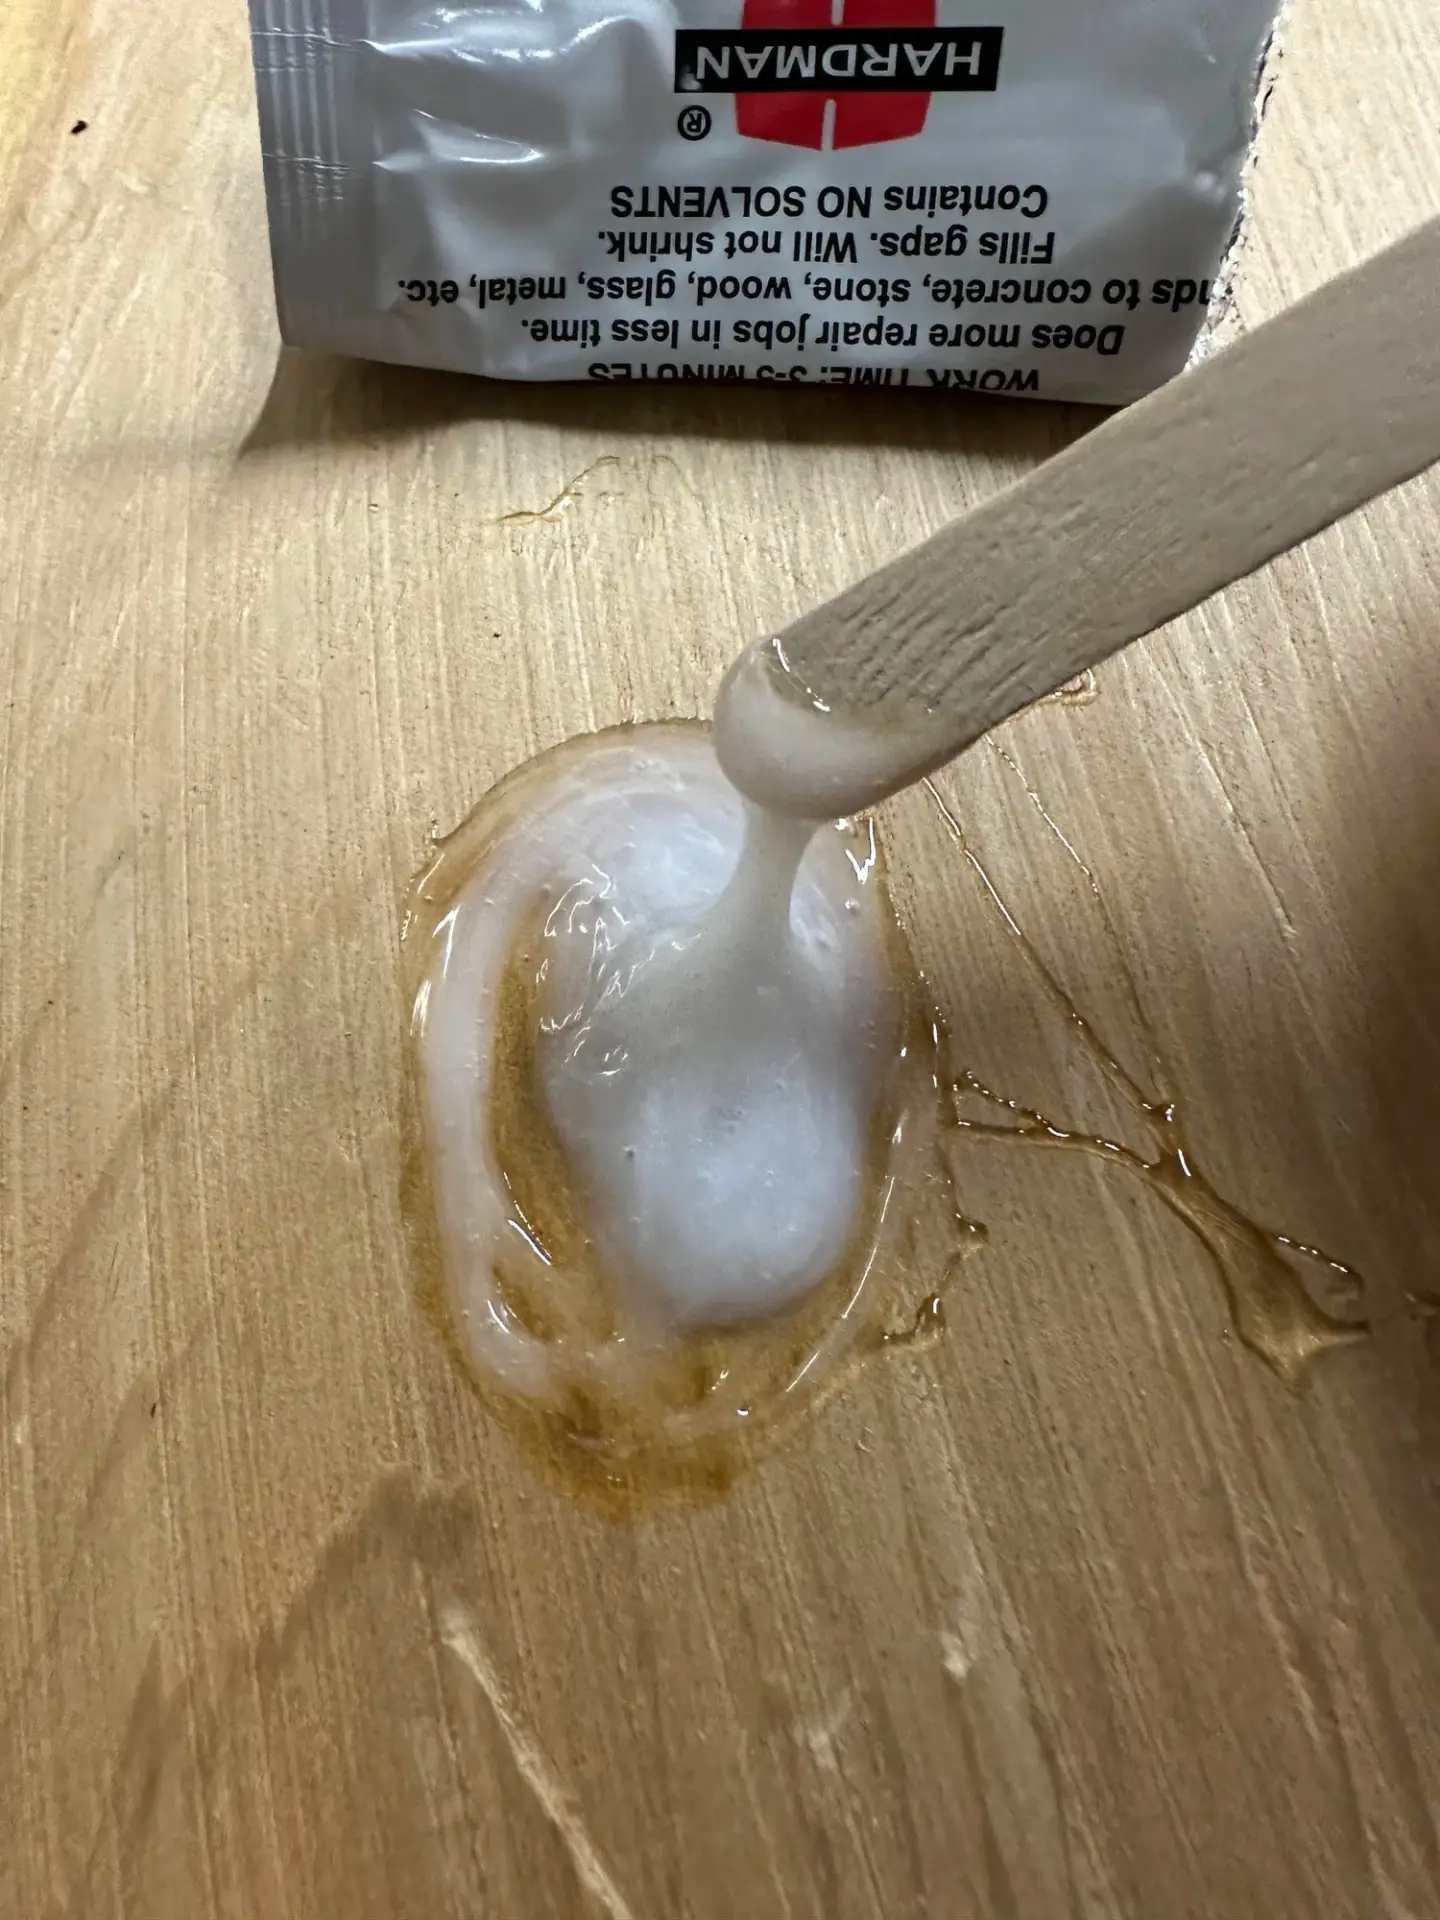
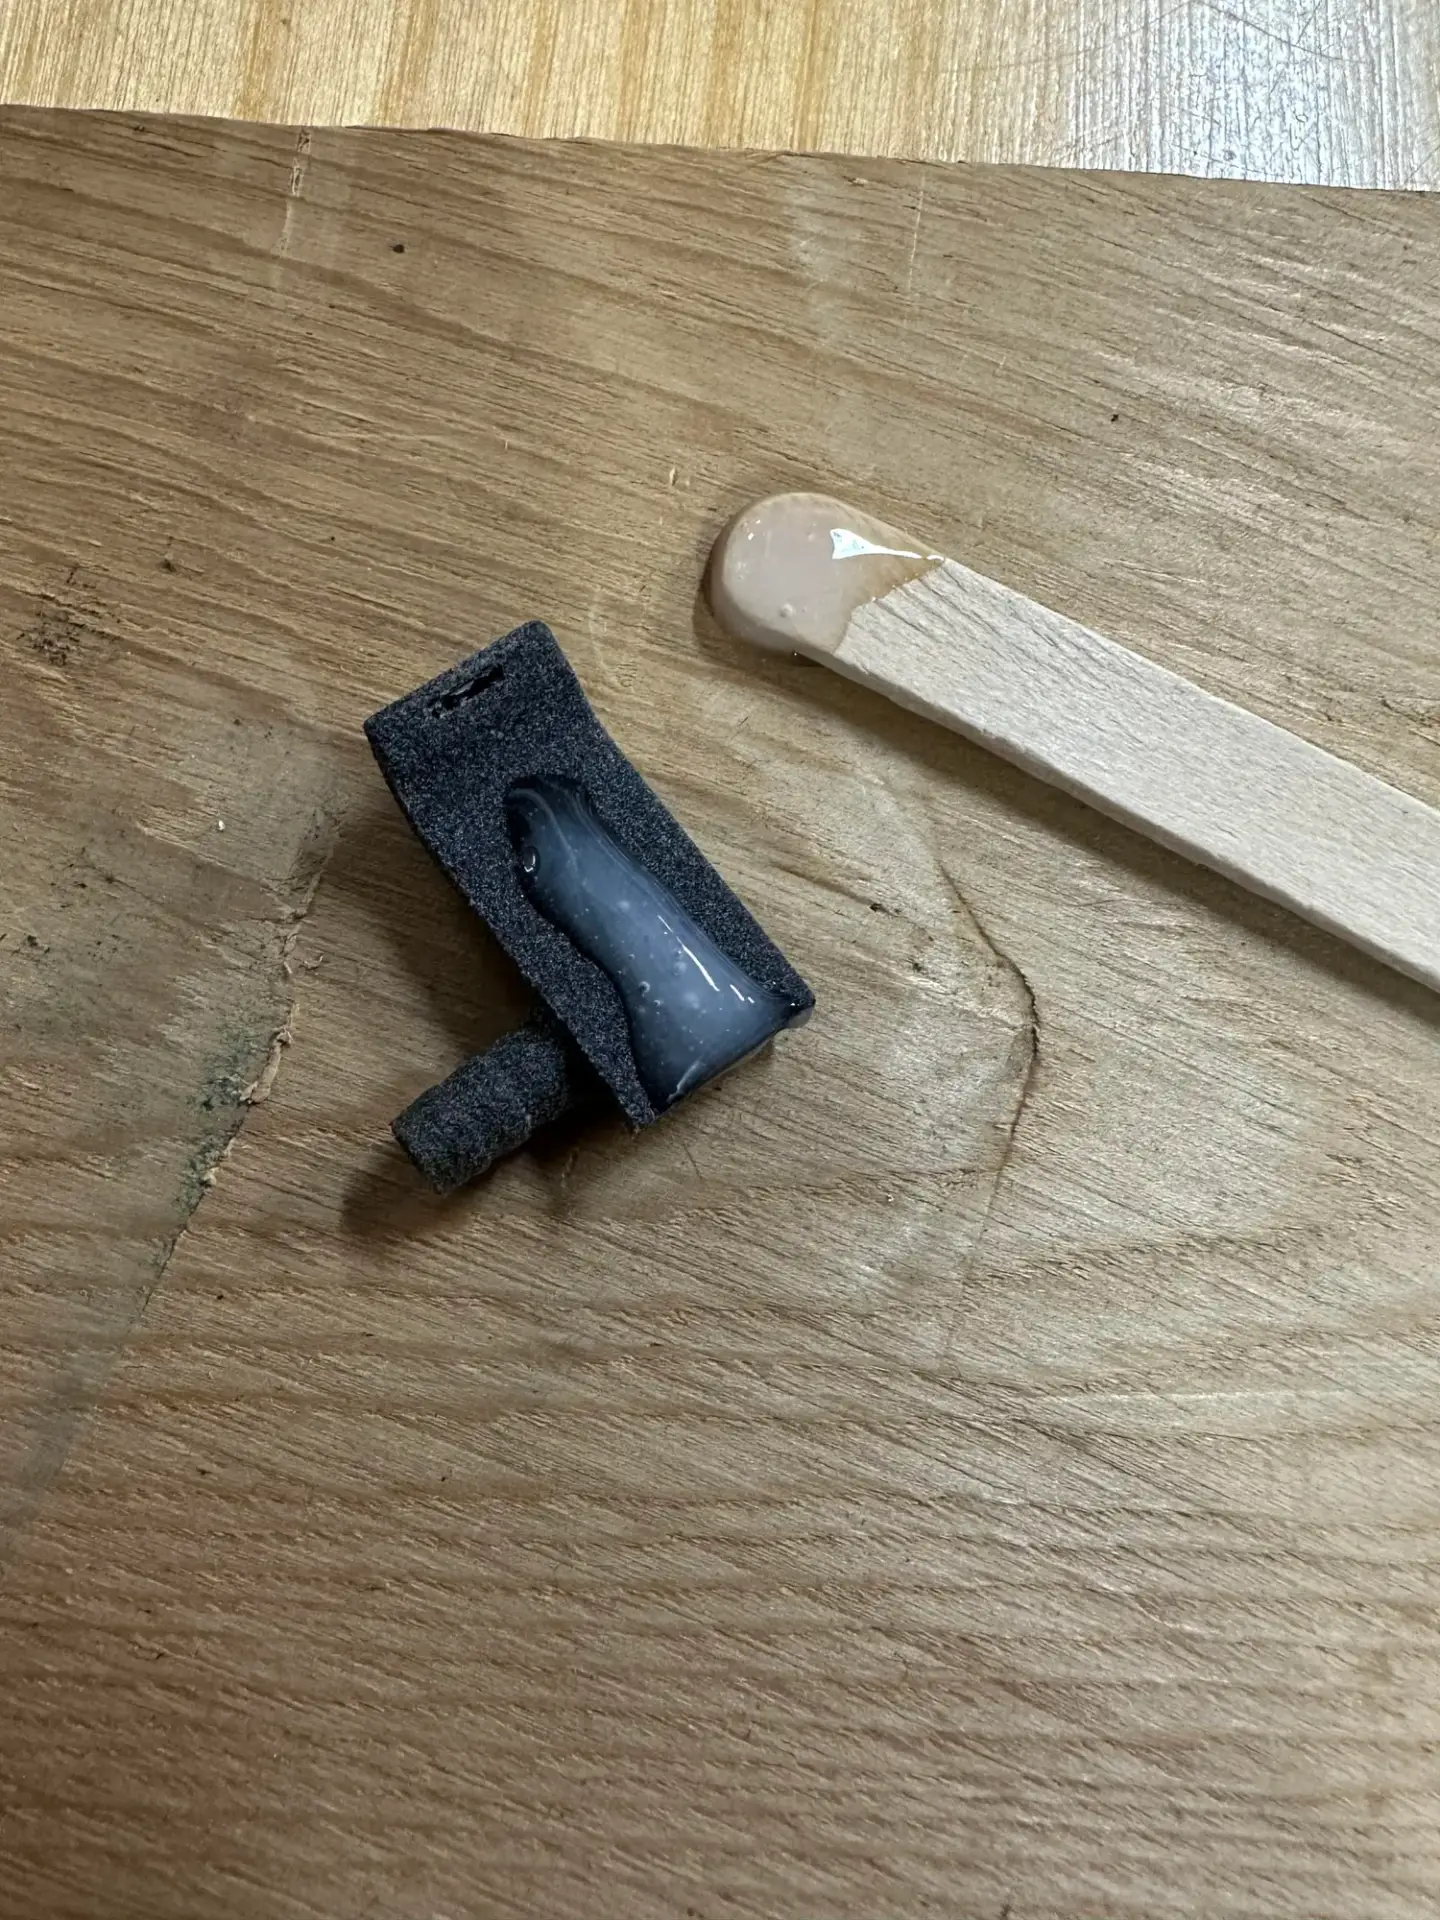
Using the Two-part epoxy provided please fold the epoxy in half, cut the top of the packaging off, and gently squeeze a generous portion onto something you can mix the two together. (See picture 6A for reference) After mixing and the epoxy has turned a whitish color apply a line down the center, be sure not to get any on the exit point of the spray nozzle. (See picture 7A for reference) Align the sprayer with the contour of the camera housing and center underneath the camera lens. Press firmly to the housing, allowing 3-5 minutes for epoxy to dry and a full ten minutes before connecting the hose. (See picture 8A for reference)
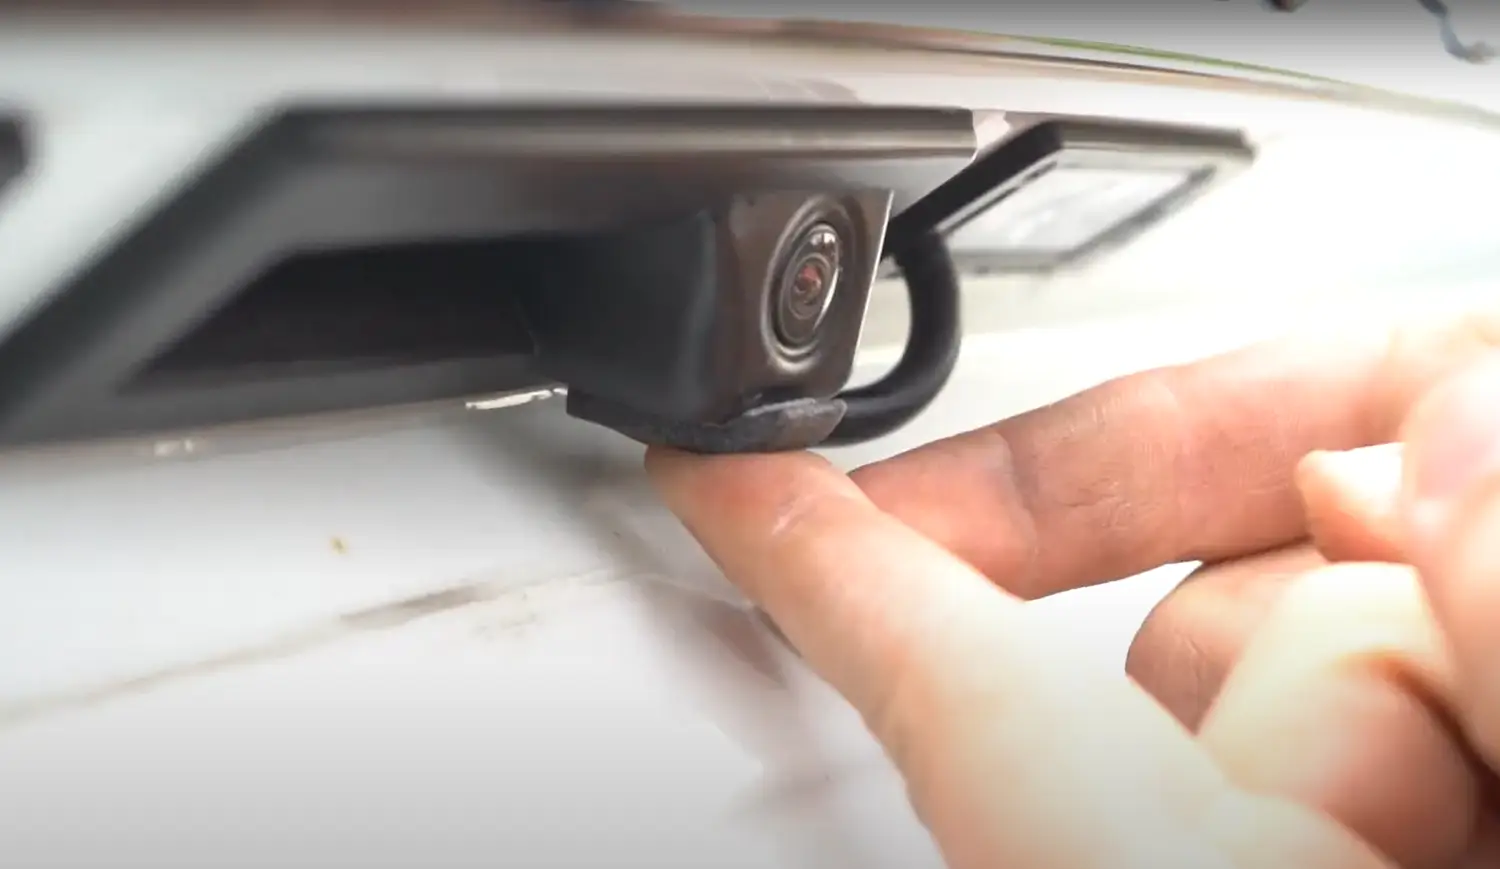
Congrats! you are finished. ClearVU is striving to give the customer 100% satisfaction. If there are any additional comments, questions, need help? Feel free to reach out to our customer service team at Customerservice@ClearVUcam.com
Don’t see your vehicle? Search the Drill Template Reference or browse Install Tutorials.
Call customer service at (716) 398-2246 or email customerservice@clearvucam.com.
Join our mailing list
Sign up for install tips, new kit drops and ClearVU-only deals. We'll email your code right away.
You're in
Use it at checkout for 10% off your first kit. We also emailed it to you. Check your inbox (or Promotions tab) for your code.
Find my kit